Circle Weaving Lesson

This lesson has been very successful for me for many years. I got this one from the fabulous art teacher resource Cassie Stephens and her AMAZINGGG blog! SO worth checking out all the cool things she has going on! She is always cooking up something new over there! Check it out here.
In love doing this lesson with lower elementary classes, upper elementary, and I have even worked this lesson into some middle school classes curriculum. It is easy (if you follow Cassie Stephens and my advice) and always BEAUTIFUL! The students are always really proud of the result!

Materials:
Paper plates- about 10 in. (Chinet plates work the best for this project. You will need a strong plate for this to work.)
Acrylic or Tempera Paints
Small brushes
Tempera Paint Sticks (optional)
Yarn
Masking tape (optional)
Pencil or sharpie for writing names on the back of the loom
Day 1
I like to start this lesson in November, or end of October, as an opportunity to share about the Native American culture. We focus on the Native Americans for at least the entire month of November (Native American Heritage Month). I start the lesson with a Power Point presentation about Native American blankets and basket weaving. We also discuss as a class the topic of multiculturalism.
Multiculturalism is based on the idea that cultural identities should not be discarded or ignored, but rather maintained and valued. The foundation of this belief is that every culture and race has made a substantial contribution to American history.
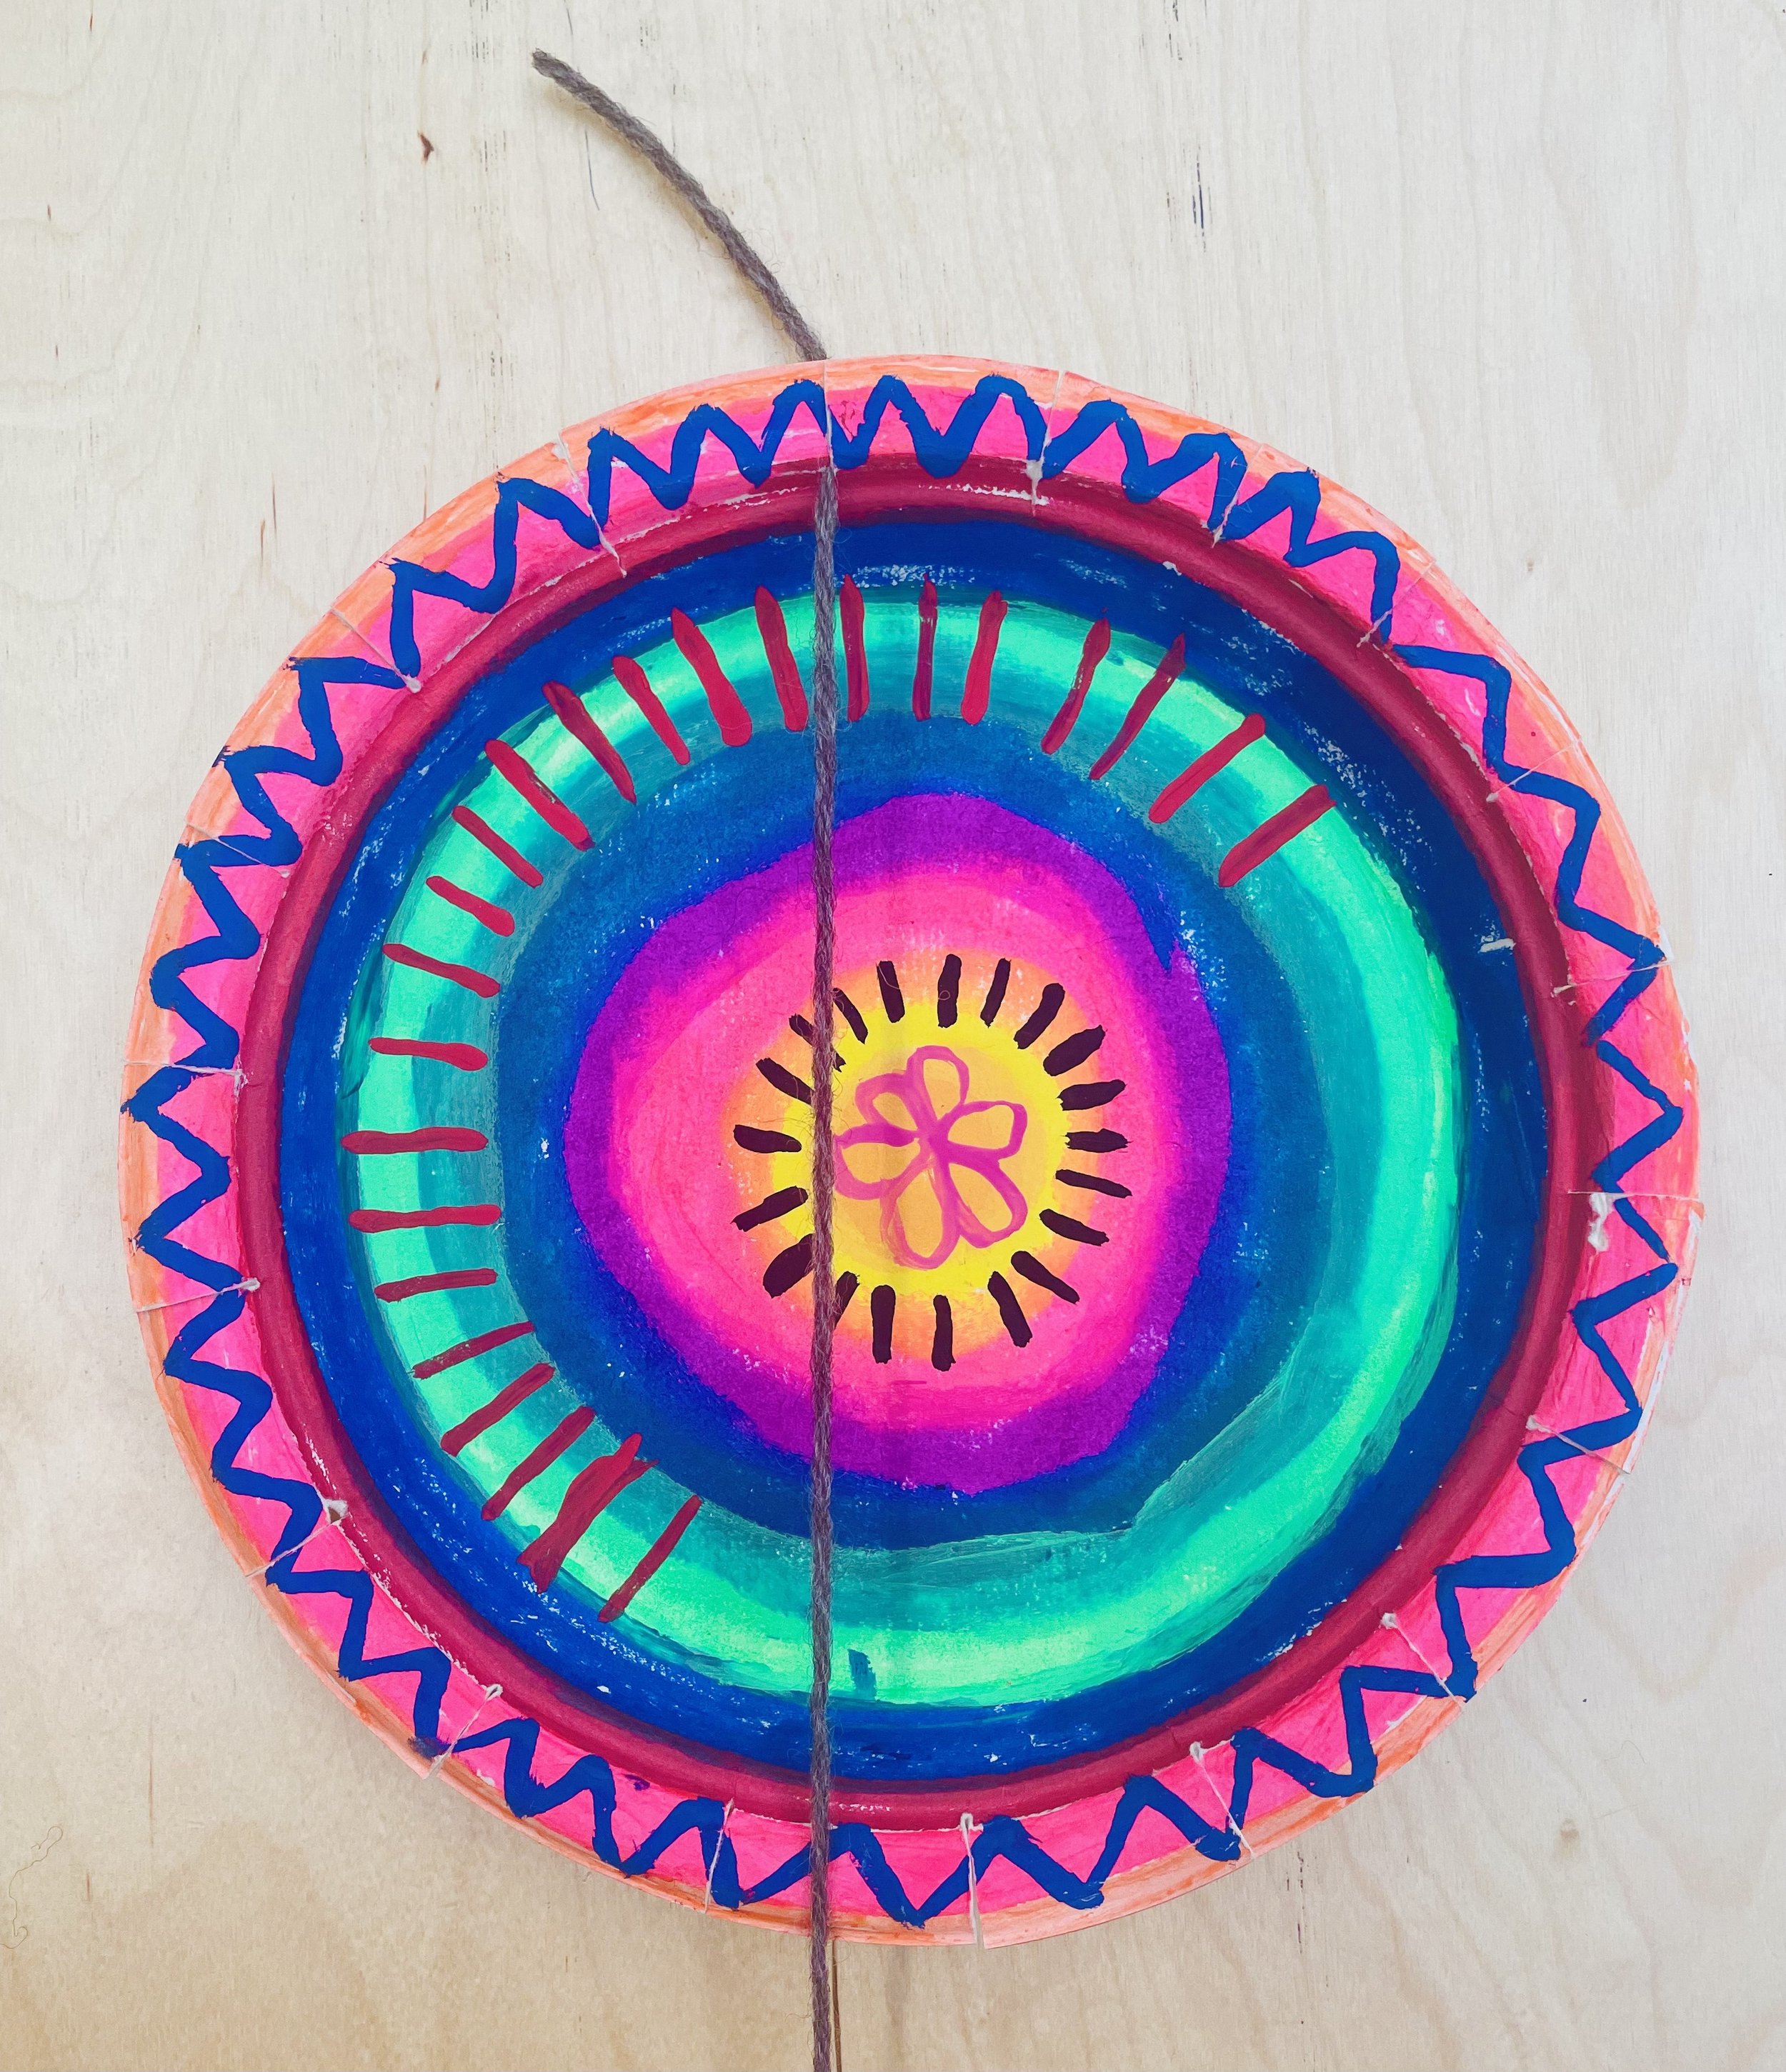
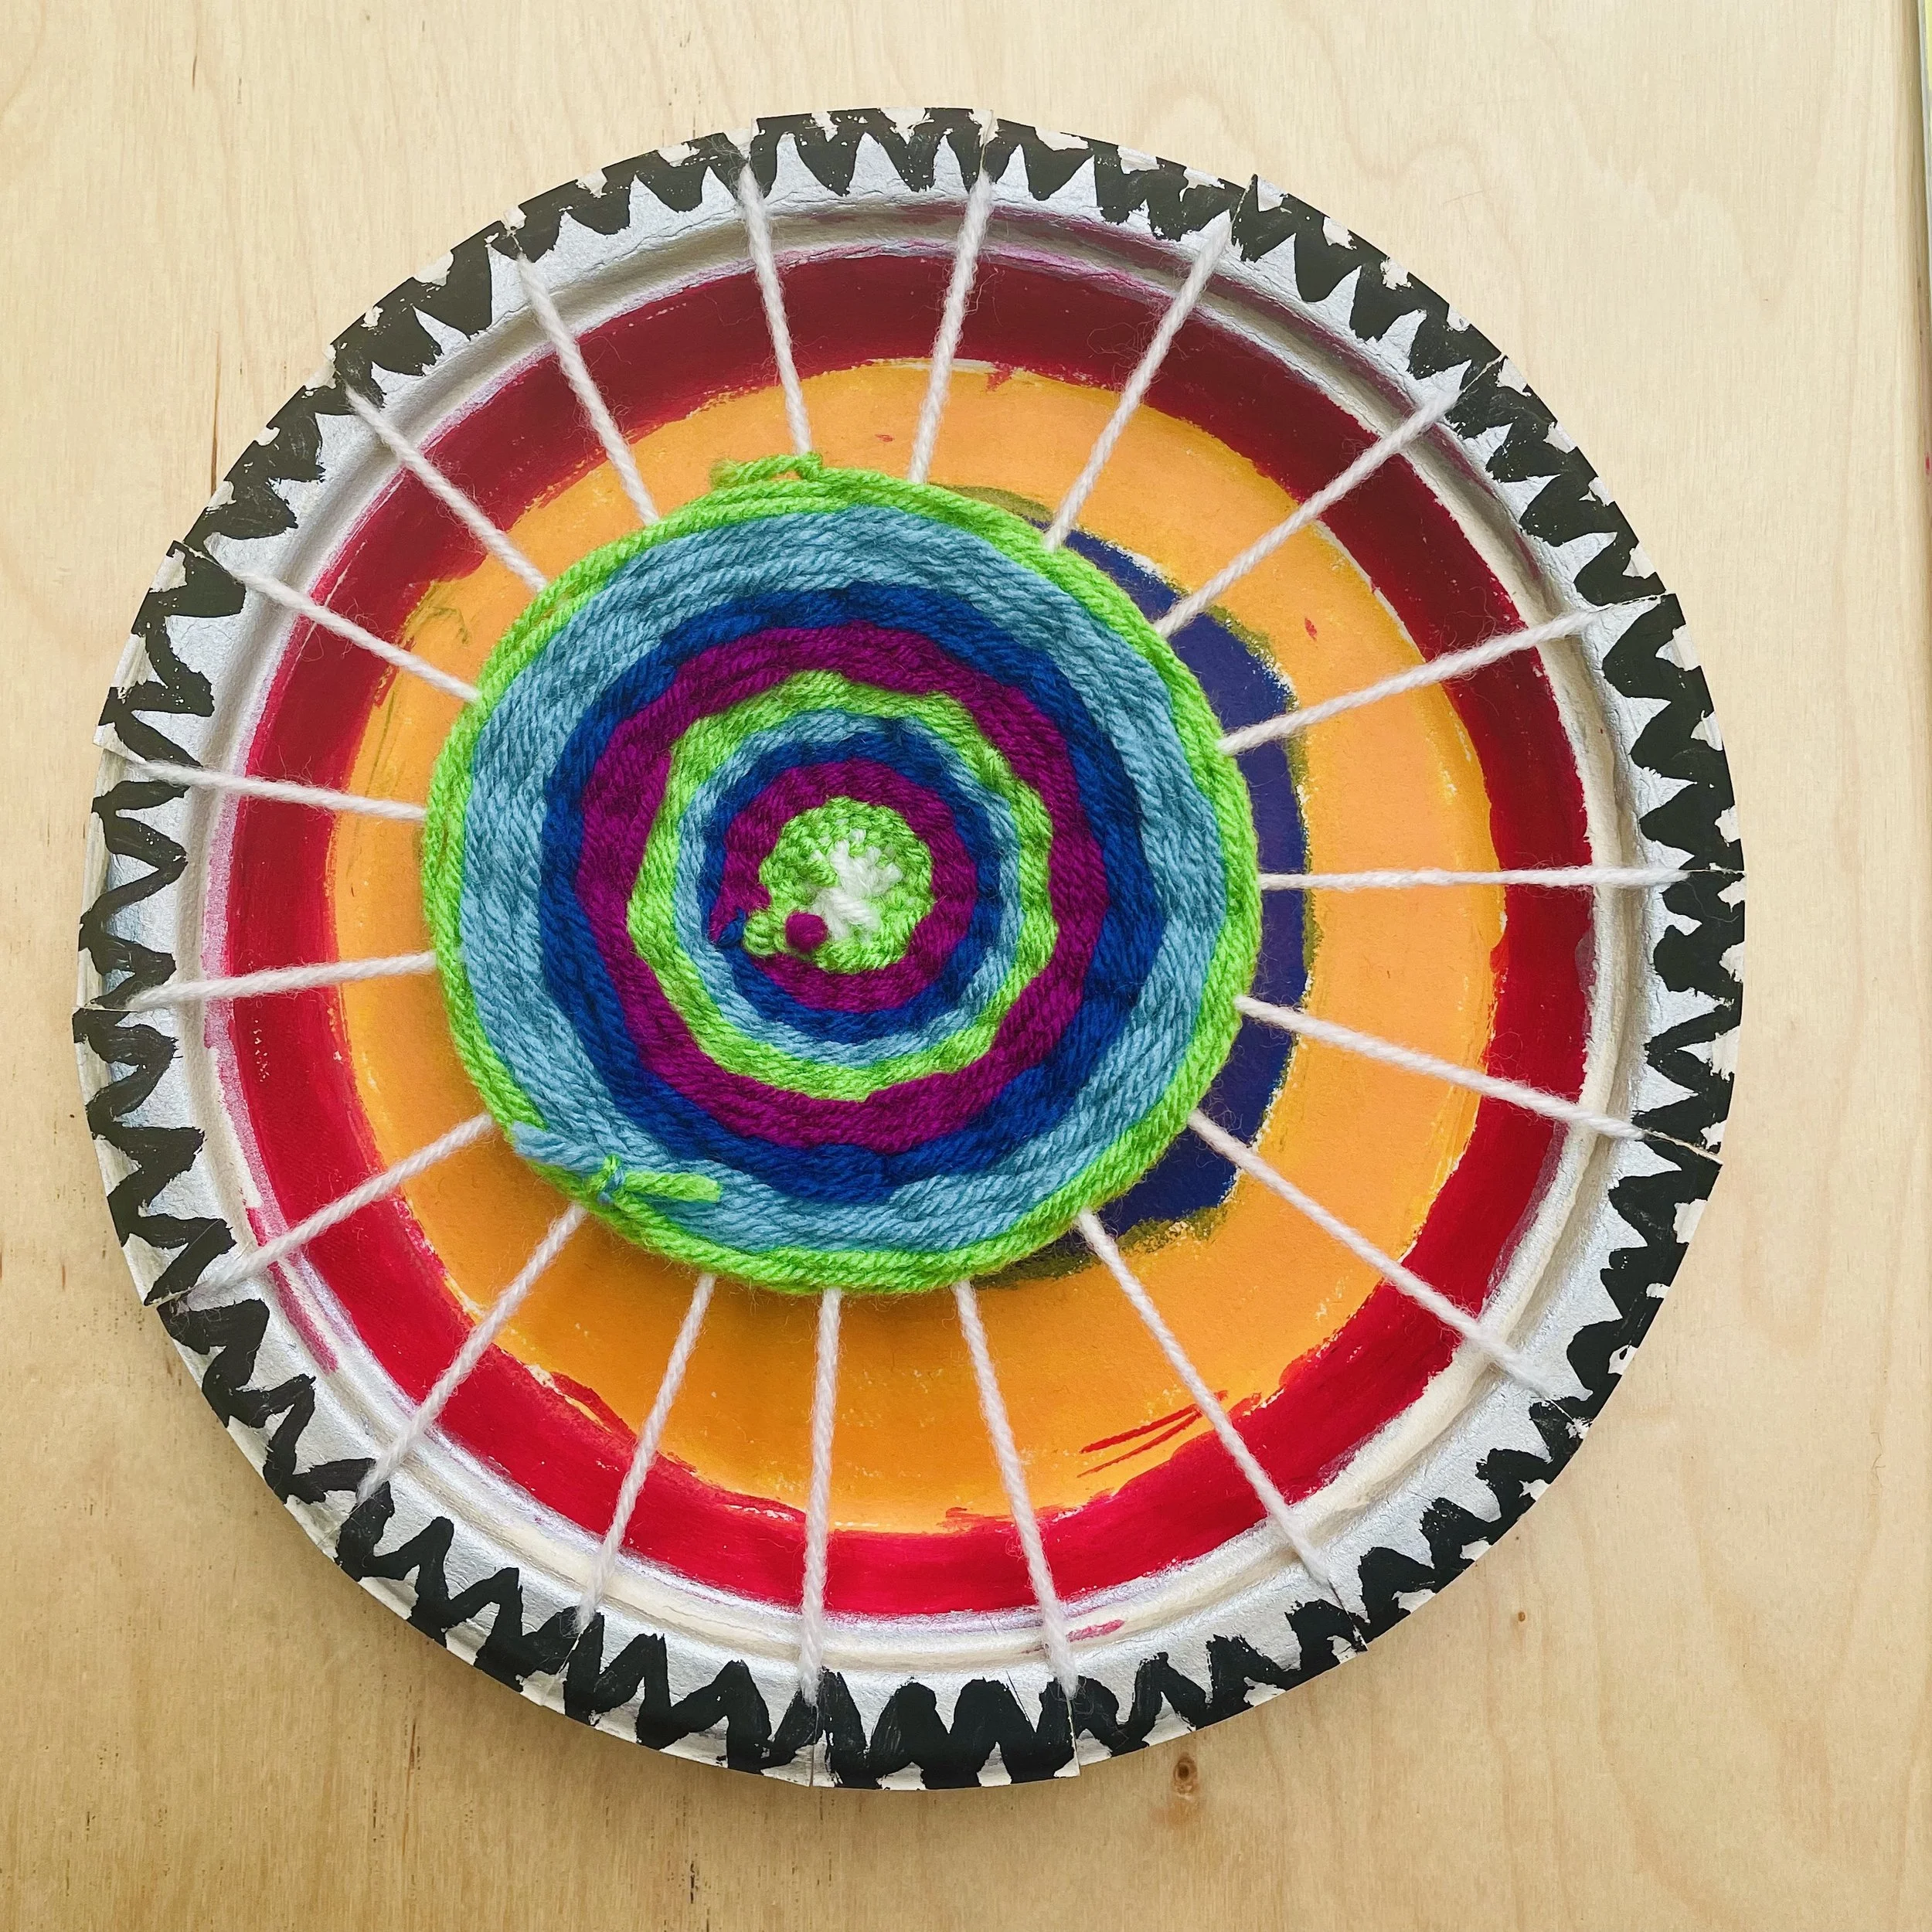
Afterwards, we get the opportunity to paint our plates (We are also starting to call them “looms” instead of plates at this point).
I like to start this painting process using Tempera Paint Sticks. If you haven’t tried these before they are an awesome option to cover the surface of the looms quickly and beautifully. The Tempera Paint sticks dry very quickly, sometimes as fast at 90 seconds, depending on how much paint is applied.
After filling up the space of the loom with color, students can then use tempera (acrylic) paint and small brushes to paint radial patterns and designs around their looms. I like to remind students that the center of the plates will be covered up by their weaving design, but the outer edges of the looms will definitely remain visible, and to take this into account when they are painting.


Day 2
The second day of this lesson, we have to prep and “warp” our looms for weaving.
The warp yarn is stretched in place on a loom before the weft is introduced during the weaving process. The weft is the yarn used to weave into the warping yarn.
This is where the Loom Template (see picture below) comes in handy in a major way. The loom template is used for drawing our 19 lines for cutting “notches” for holding our warping yarn onto our looms.


I ask students to use these templates to draw 19 straight lines onto the backs of their looms. I also ask students to number each of those lines 1- 19 in pencil, before any cutting happens, because it is VERY important that only 19 notches are cut. Without this tool, you are going to have students with uneven or WAY too many notches cut, and then you’re in the weeds!
Also, remind students to only cut a straight line for each notch, not cut outs like the template uses. That can get confusing and should be explained beforehand. It can still work if they cut out notches that are gapped, but the yarn won’t fit as snug. Also, remind students to only cut to the rim of the plate, not deeper, or weavings will sag. Not a cute look for a weaving.
After everyone has drawn their notch lines, numbered them 1 - 19, cut straight lines into notches, then you are ready for students to all warp their looms together. To do this part, I ask all of the students to gather in a big circle on the floor. I give each student a small skein of yarn- for the correct length of warping string, I wrap yarn around my hand to elbow about 5 times. This should do the trick.
We follow a funny story, that Cassie Stephens constructed, to warp our looms. Now for this next part can go smoothly, or it can be like watching a slow motion car crash. Follow these next instructions, and it should go smoothly for you! I ask students to set their looms on the floor and NOT to touch their looms until I say go! Or I will snatch them up! (A key piece of advice from the great Cassie Stephens. Praise hands!)
Warping Step 1:
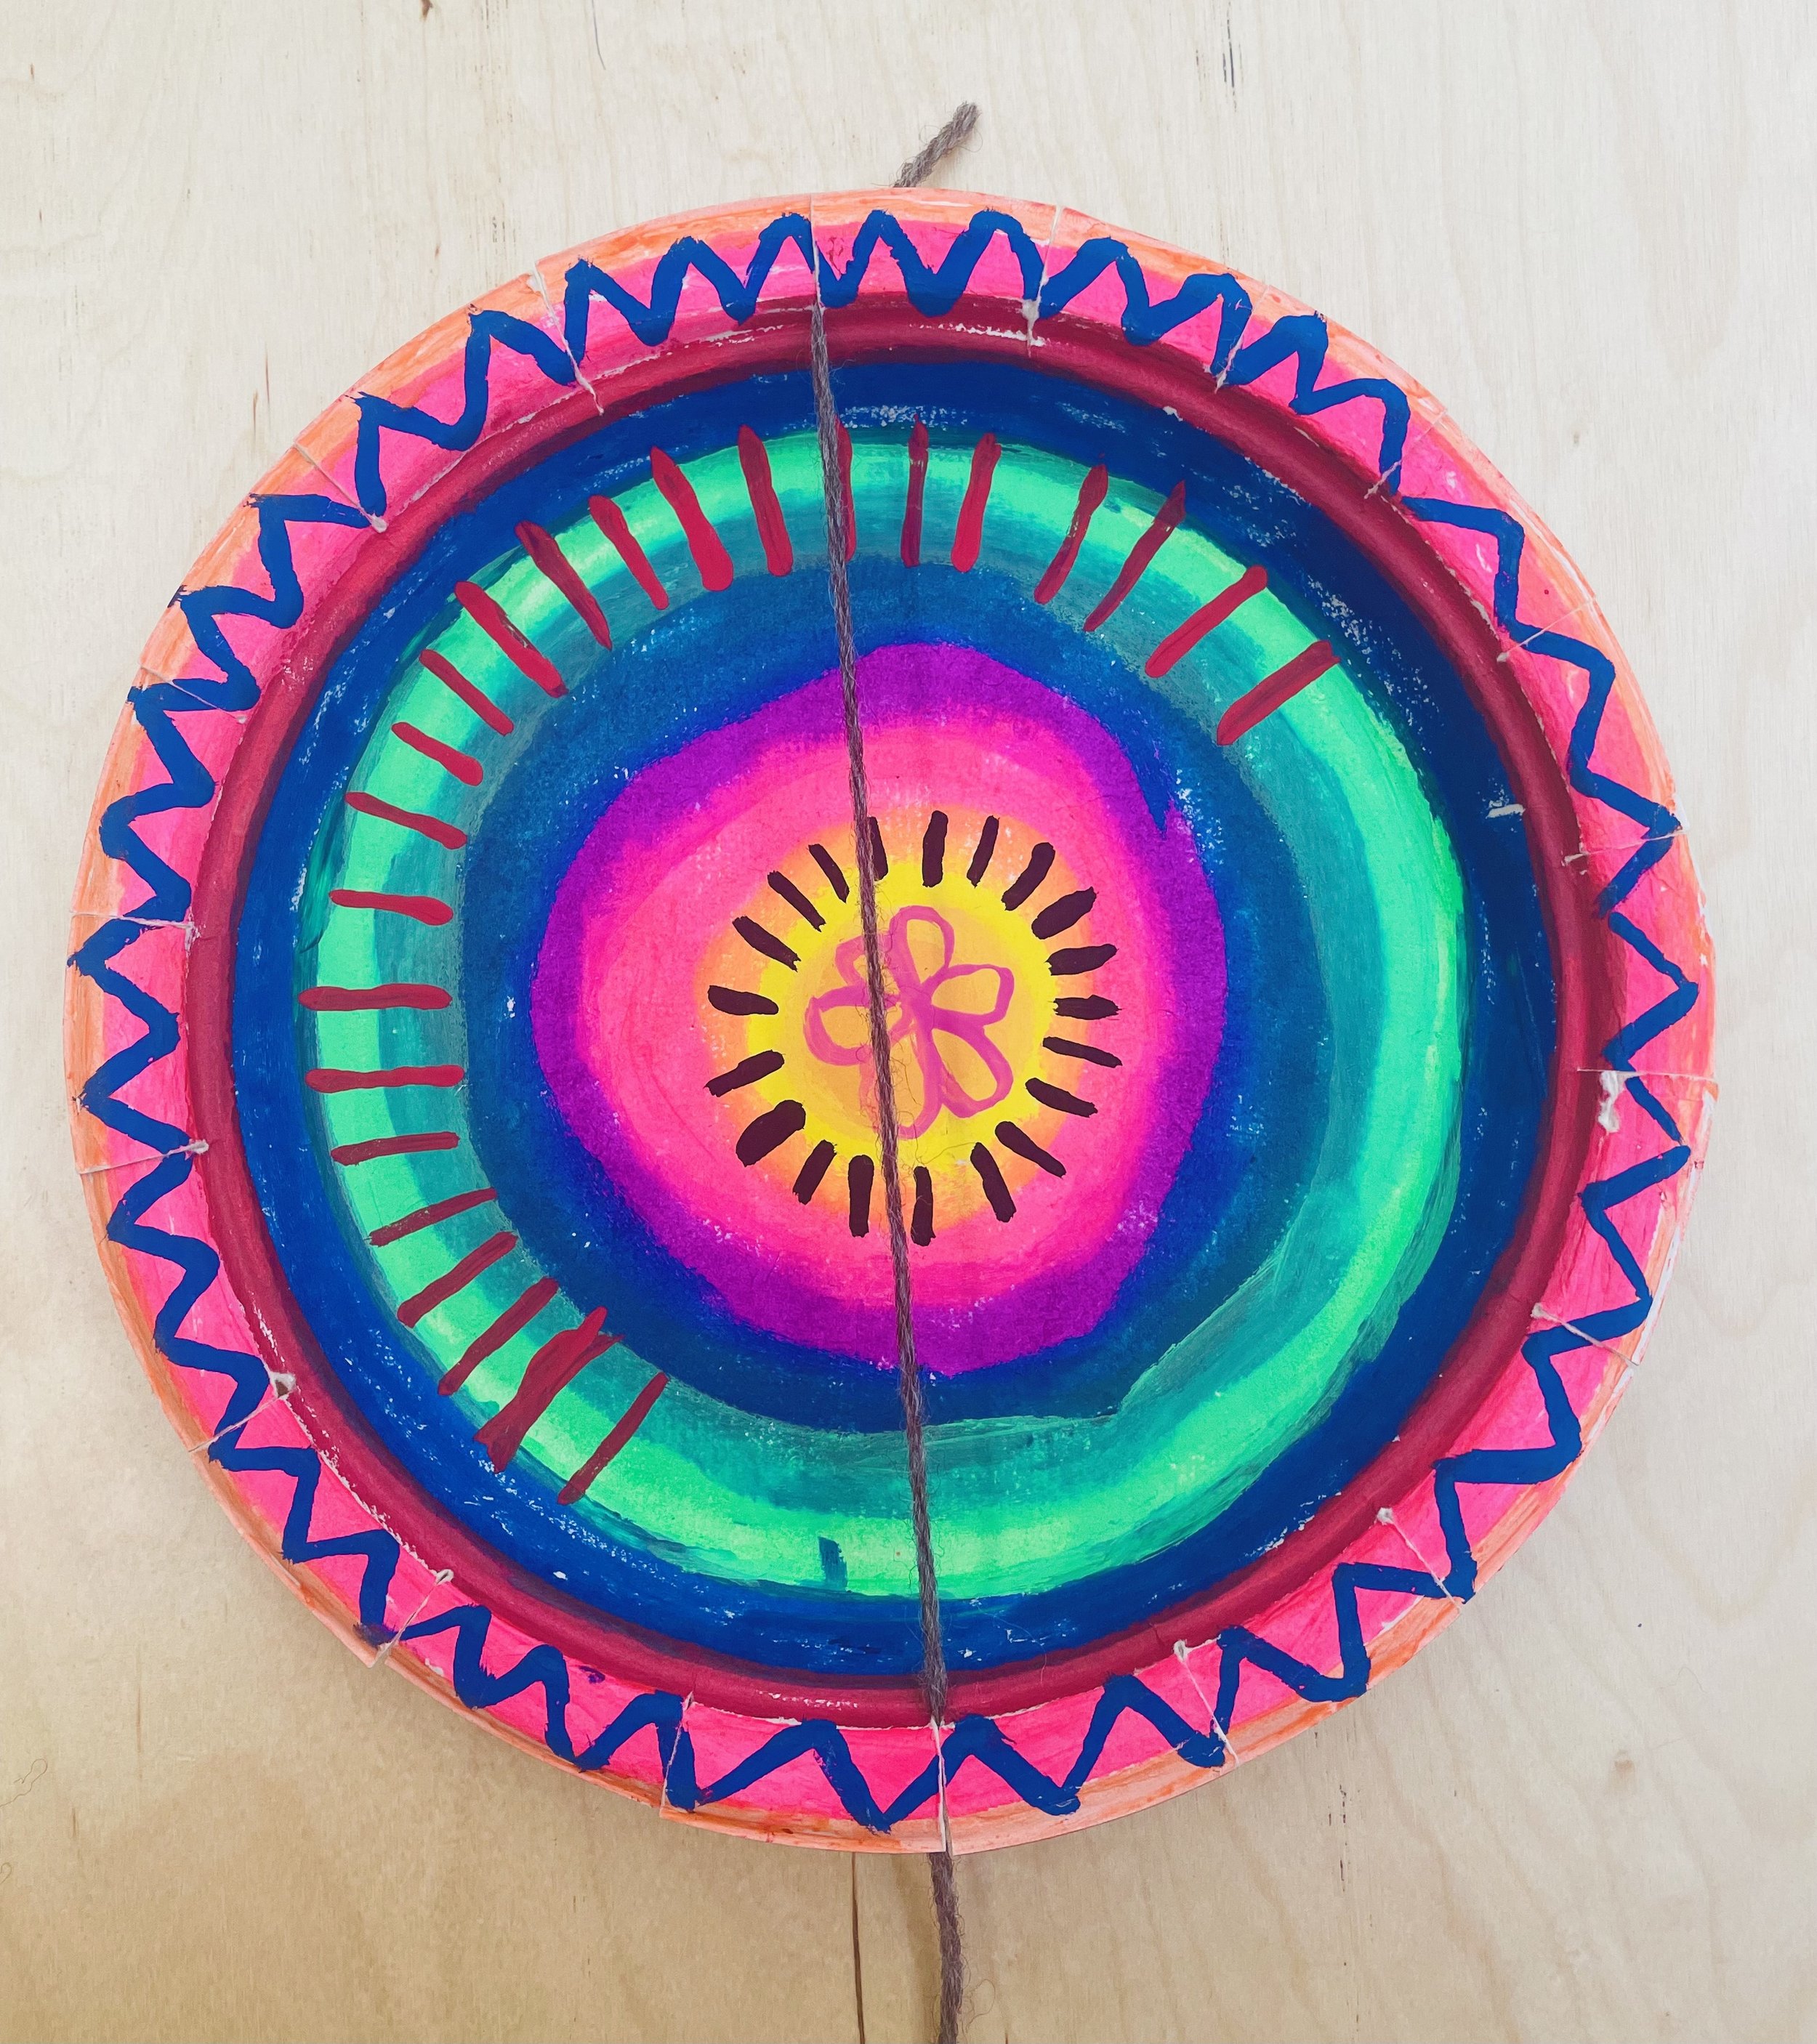
Tuck the end of your yarn into any notch on your loom. Leave a little tail sticking out the back of the loom (about 2 inches or the length of a finger). The remaining longer piece of yarn should hang loosely down the front. Go!
Step 2:
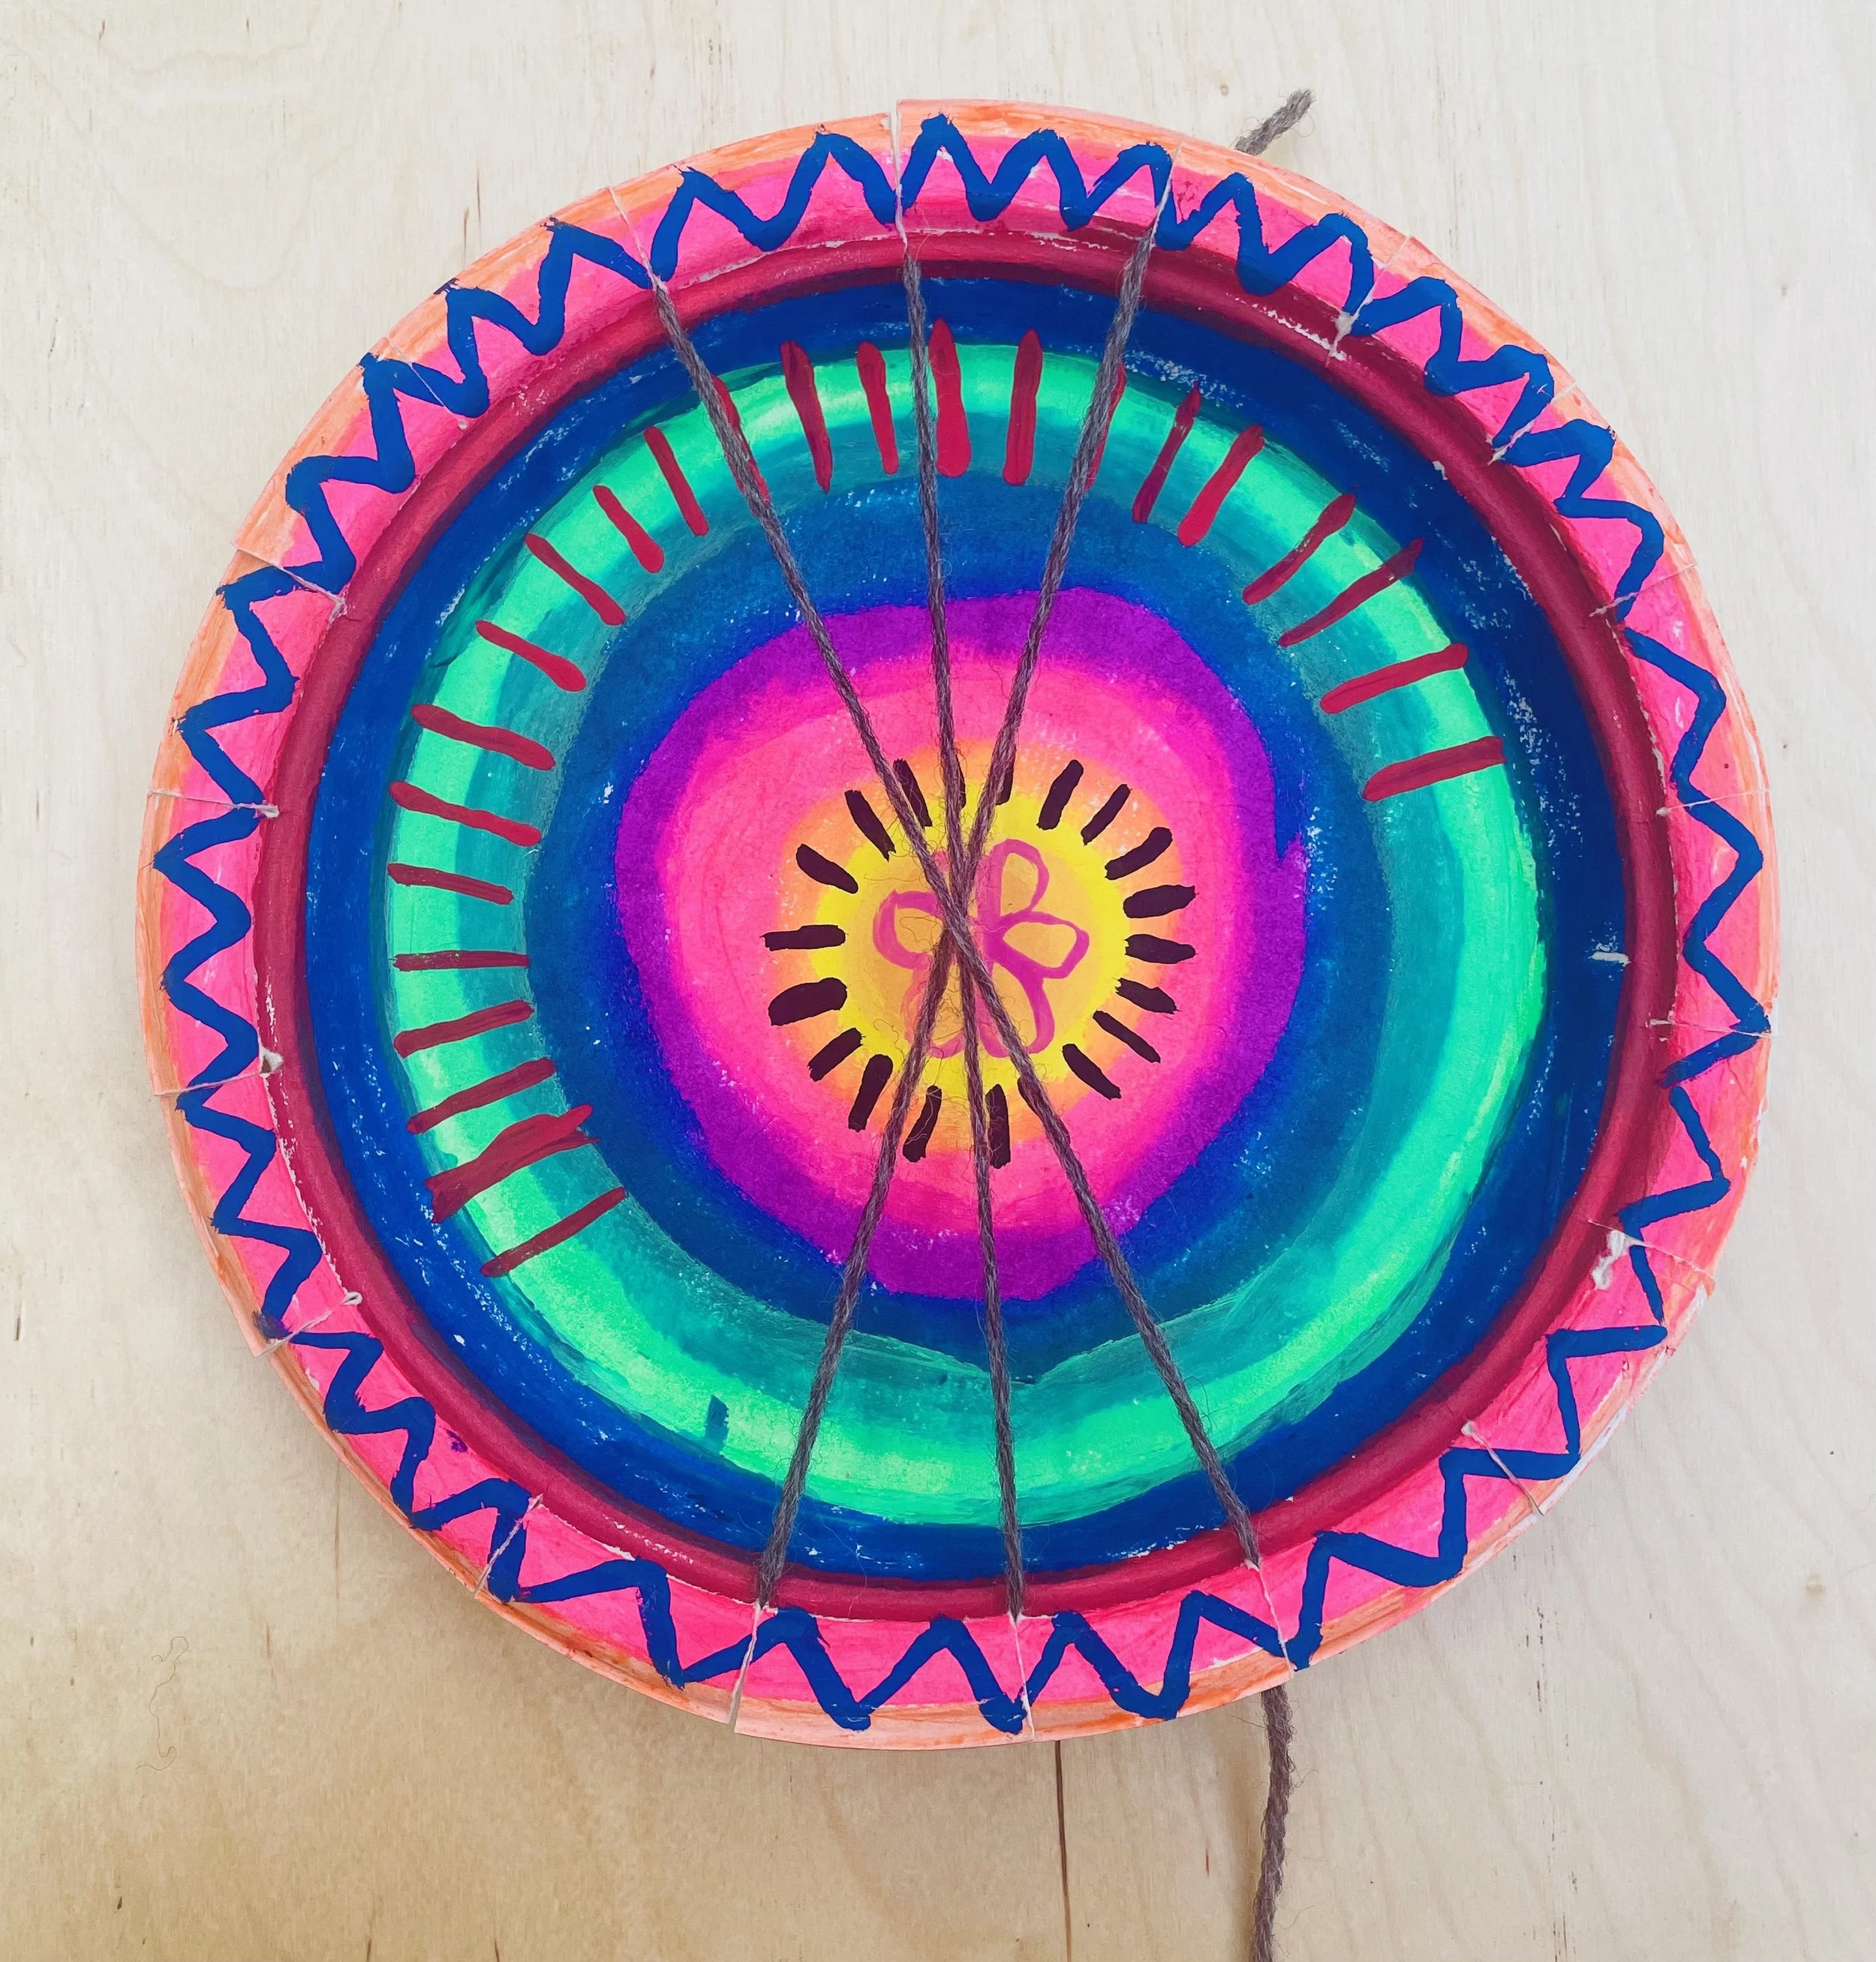
Bring the length of yarn down dividing the plate in half (see below photo). This part involves careful counting and is VERY important for the remaining steps to work out. Be sure that there are 8 empty notches on the left side and 9 on the right. We don’t count the two notches currently being used. If you have 8 notches on the left and 9 on the right you are on a roll! GO!
8 notches on the left and 9 on the right (shown above)
Step 3:
This is the silly story our class borrows from Cassie Stephen’s lesson- Take the long length of string and have it "go to the right neighbor's house" meaning have your string go in the next notch on the right hand side. Now, this neighbor is super rude and it shouts, "get outta my house!" so the string runs all the way across the plate (see photos below) and makes the World's Smallest X.

Step 4:
Rotate the plate so that the length of string is at the bottom (see photos below).
That story I just told about the string getting kicked out of the neighbor's house? It's a pattern. Which means it's gonna repeat.
So, let's do it again! Go to the right neighbors house. Get kicked out. Go across the street and make the World's Smallest X. Rotate the plate.
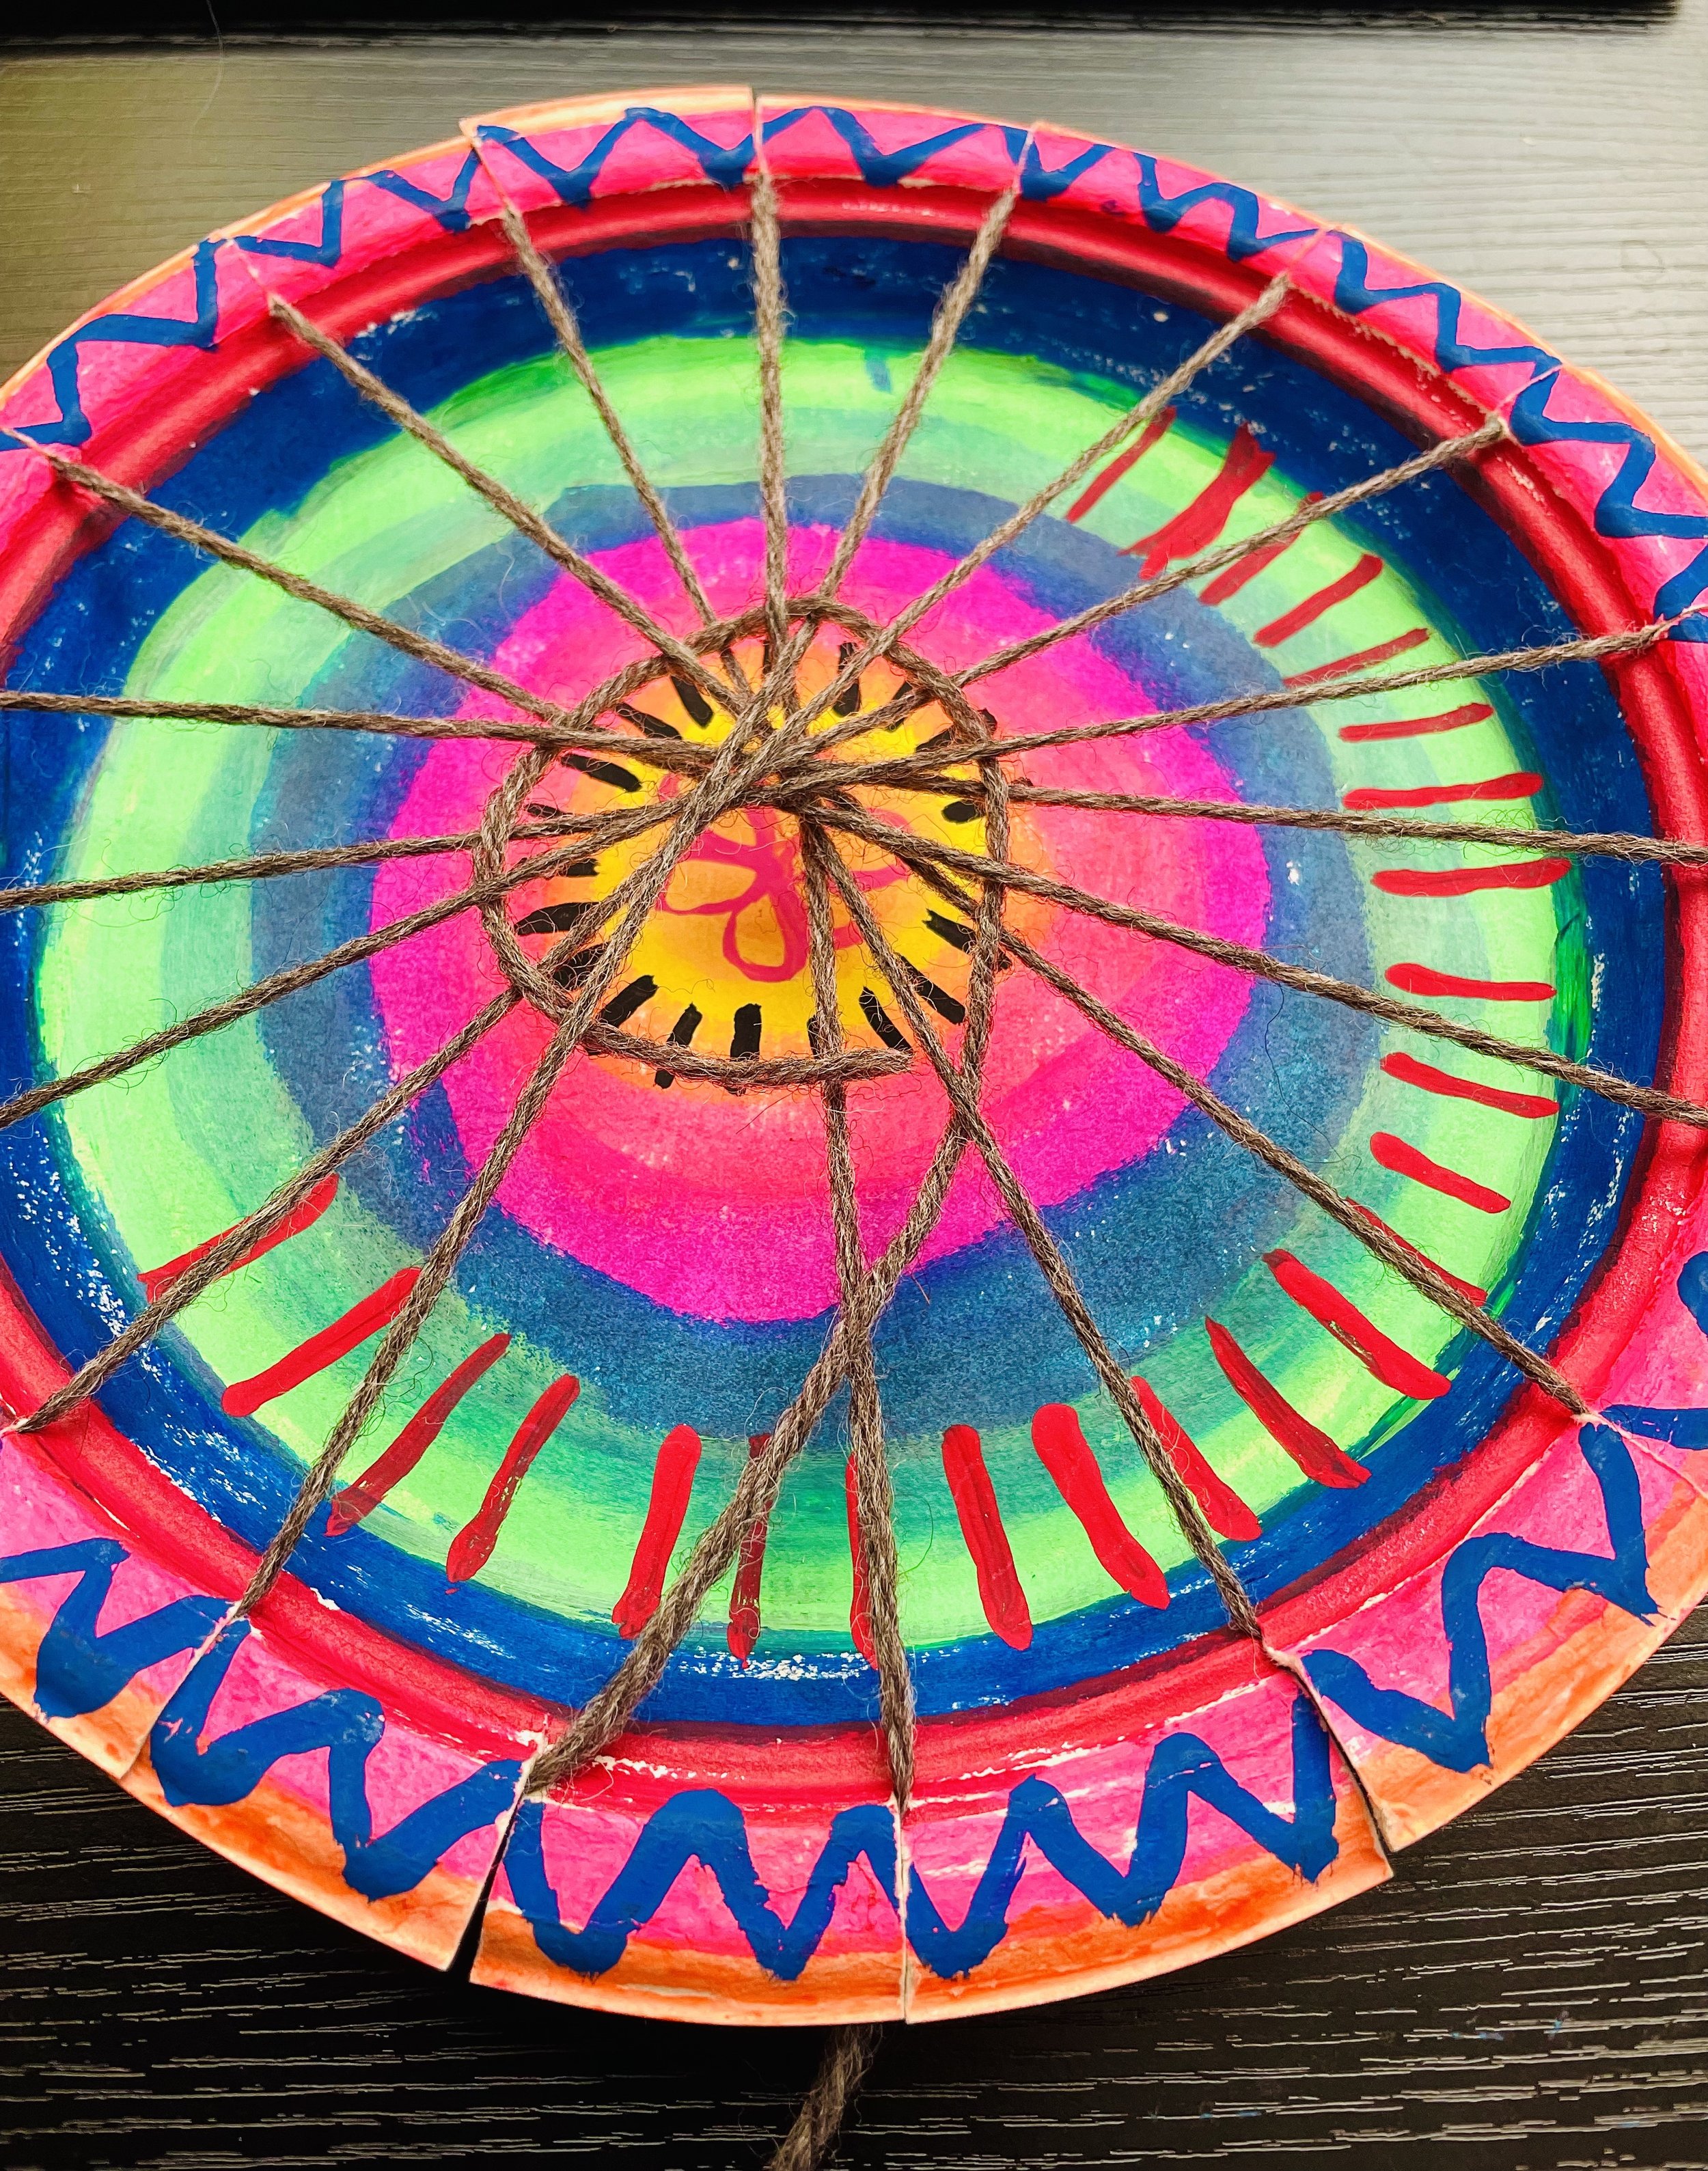
After watching this routine, the students and I walk through this pattern, warping my loom until there are not any more houses to go into. Now it’s their turn, Go!

Go the right neighbor’s house. Get kicked out. Make World's Smallest X. Rotate the Plate. You'll know you're finished when your little string has no home to go to. Whats left of your warping string will become your weft to begin your weaving.
Day 3:
The following art class, we start to weave with that remaining string. I like to give students the option to change yarn color at this point if they’d like to. I ask them to cut off new pieces of yarn for weaving that is only the length of their arm. This sounds limiting, but actually makes it much easier from them to pull ALL of their yarn through as they are weaving along. If they forget to pull the slack yarn through as they are going along, we sometimes have to go backwards to fix the issue. They can always come back for MORE yarn. Some students as they become more comfortable with the weaving process, can handle longer sections of yarn to tie onto their weaving.
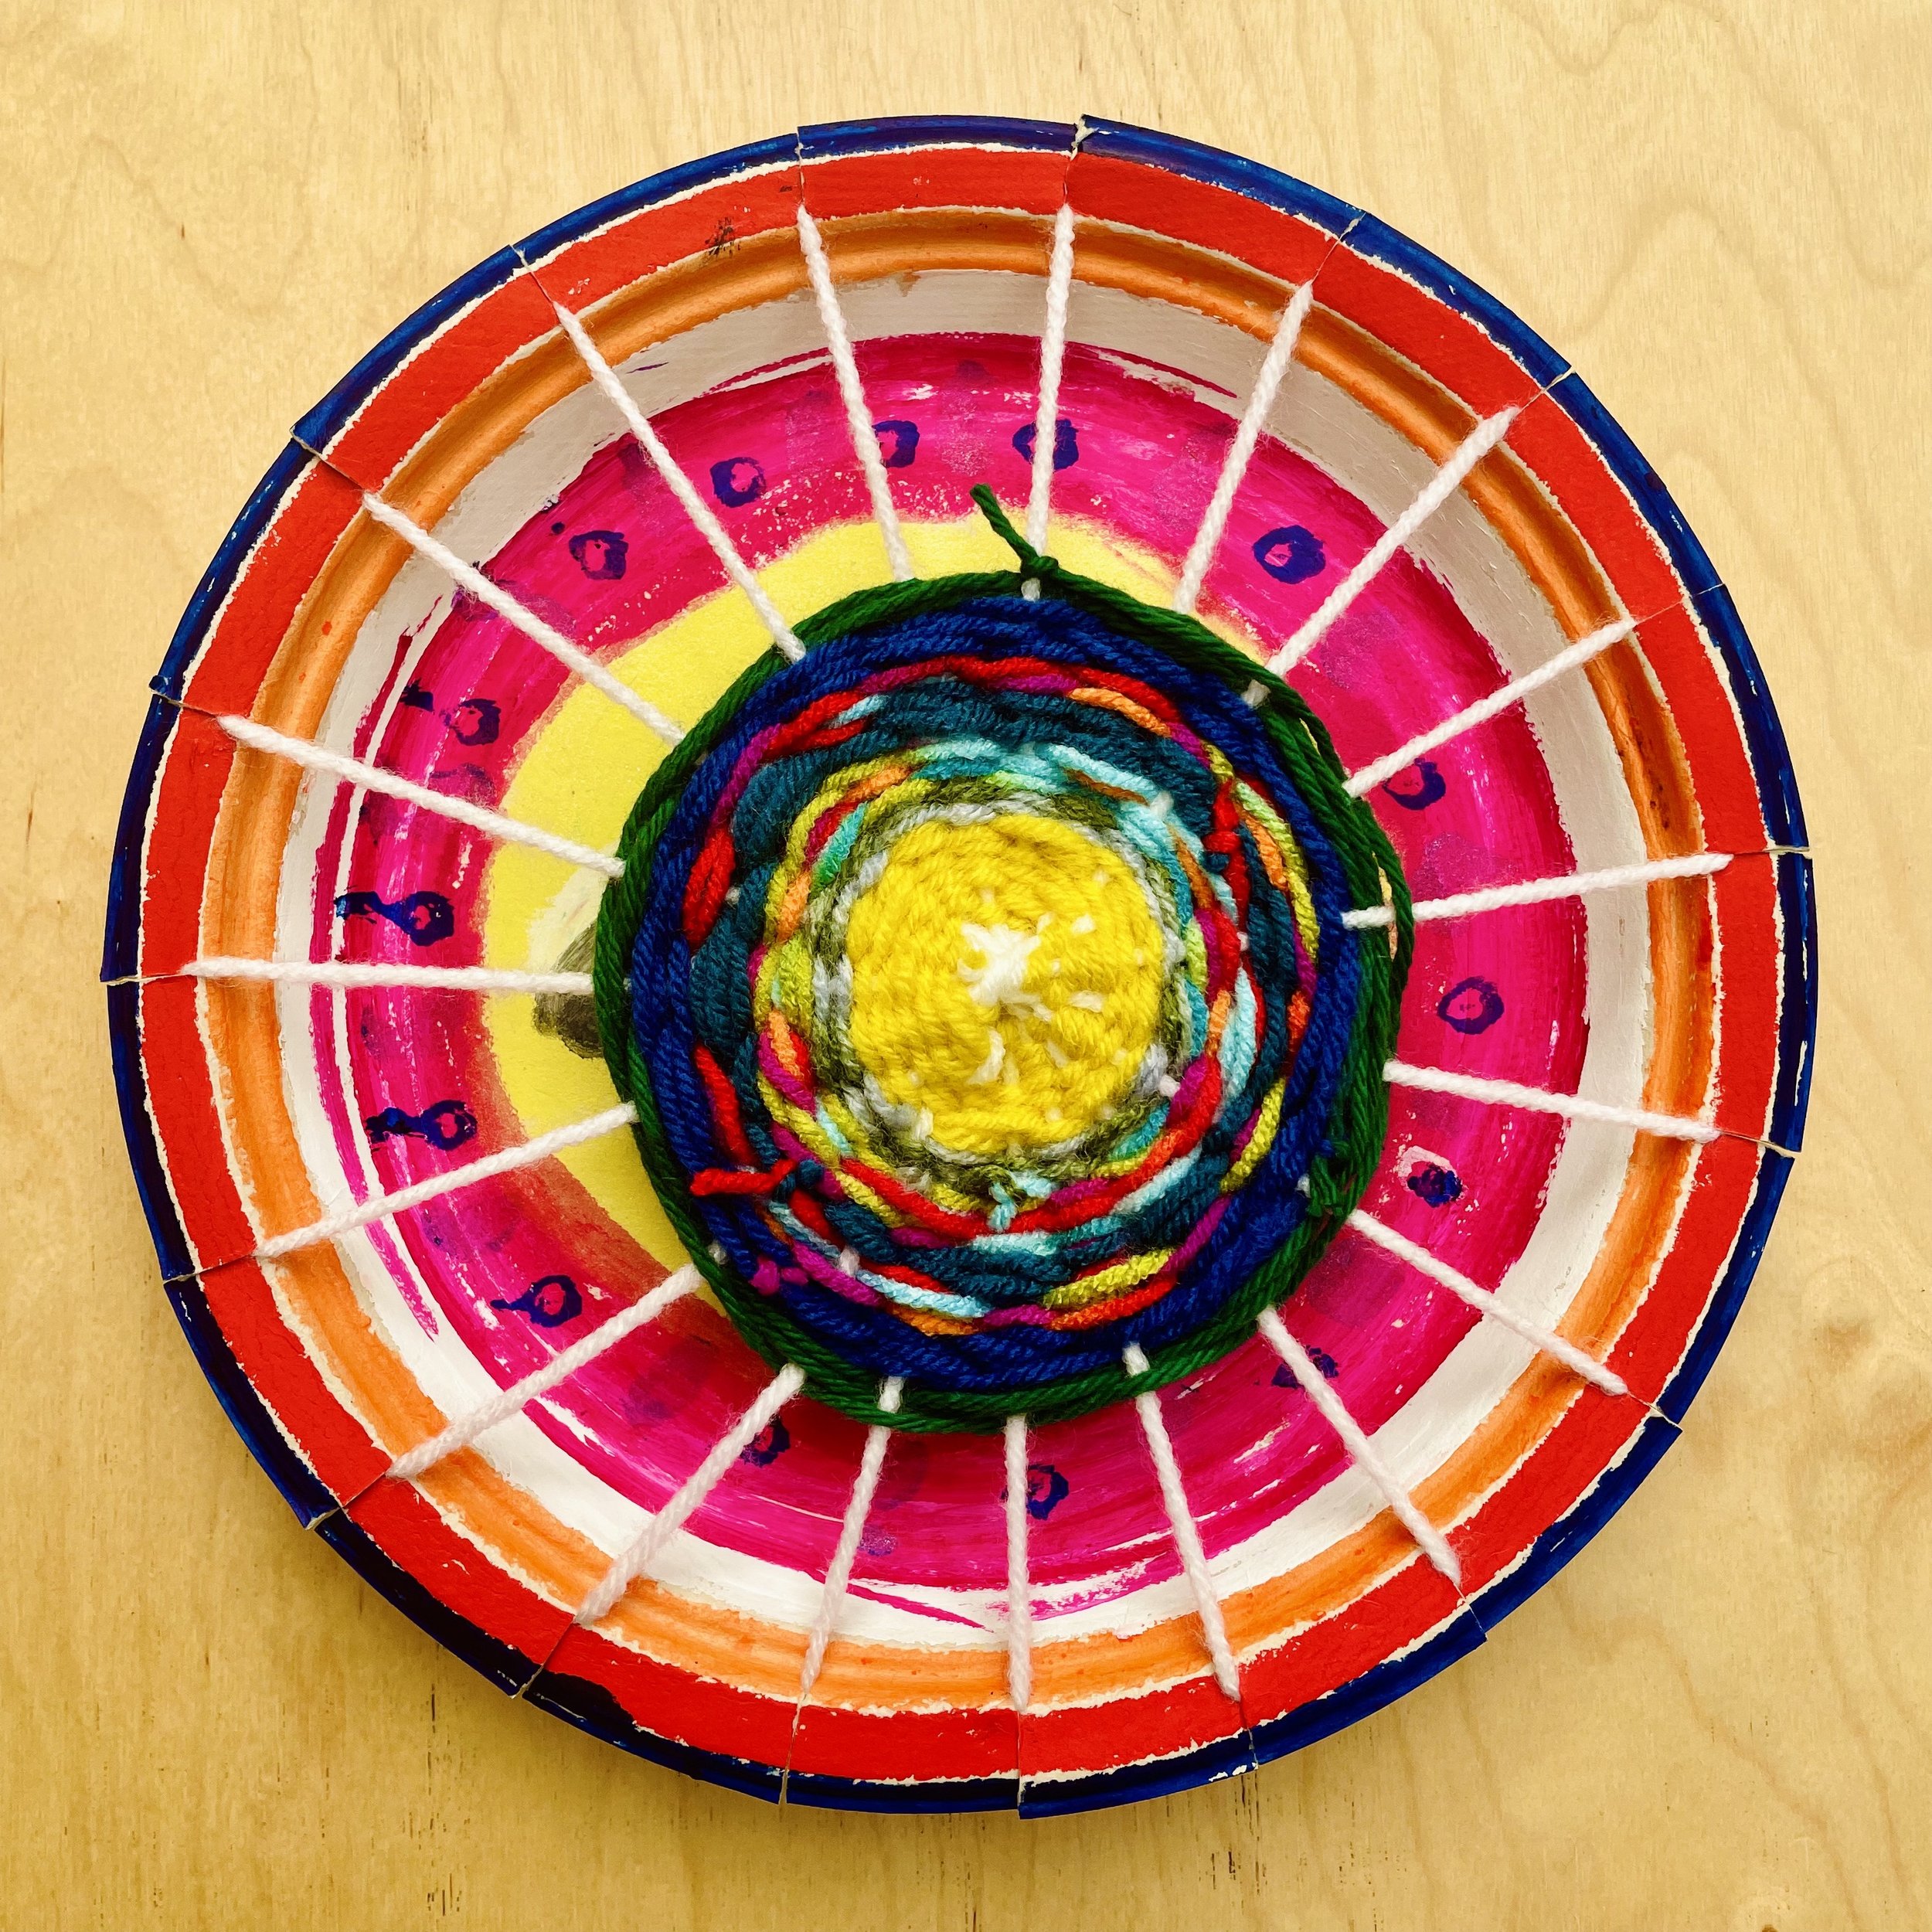
For our weaving we follow the over and under pattern, and just continue to go around and around in the same direction.

We just tie on another piece of yarn whenever we run out string. When we start to run out of string, some students use this as an opportunity to change colors of yarn on their weaving.
The first day of weaving can be the toughest, but I remind them over and over, the farther you go along, the easier it will get. Before they know it, they are LOVING it! It is a great lesson in perseverance. Sometimes a student will come to you confused with a string that feels likes it is in an impossible knot. Knot untangling skills can come in handy. Students sometimes need to go backwards a bit in their weaving before they have it completely figured out. Each time they try it it, they will start to improve, and they will notice it slowly getting easier and easier. It can be pure magic when they realize they LOVE to weave!


Have tried a this lesson before? Did you find it successful? I would love you feedback, feel free to comment below. Thank you for looking!