Oil Painting Tutorial | Still Life Painting in 8 Steps
This painting was completed by the Raleigh based artist Courtney Marie Taylor in 2020.
In this blog post I demonstrate my own process for painting a complex subject, using basic oil painting principles and techniques — and patience. I describe my technique for intensifying colors and re-creating objects as abstract colors and shapes that create realistic still life paintings. Here I shares an oil painting tutorial of my process in eight simple steps.
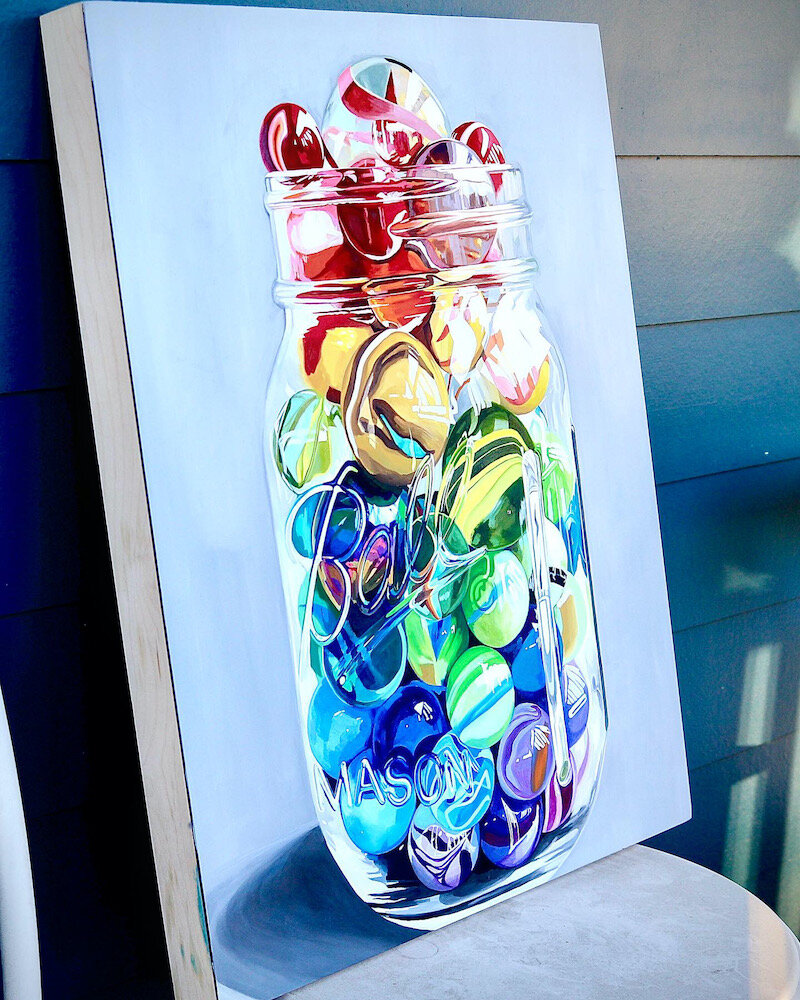
OIL PAINTING TUTORIAL: Mindfully Made, 24” x 36” oil painting on wood panel.
Step 1: I collected colorful glass marbles and organized them into a ROYGBIV pattern. I took at least 100 photos of this setup from all different angles with my DSRL camera. My photoshoot took place beside a window allowing natural sunlight to illuminate the subject being photographed. Natural light is key for taking great photographs. Dusk and dawn are both considered the “golden hours” for photography, but I have found that an overcast or cloudy afternoon can also provide a nice lighting for a photoshoot as well. Here in Raleigh, we get plenty of rain, so practice with the conditions you’re given.
Step 2: I then imported the images into my photo editor and manipulated them until I had several photo references that I really liked. Ordinary marbles transformed into orbs, reflecting and refracting sunlight within the clear glass mason jar.
Step 3: I use a fast drying acrylic to paint a solid grey color over the entire wood panel. This will be the background of my painting. (I often use Blick Studio Artist’s Wood Panels for my painting surface, and Golden Acrylic Paints for my acrylic paint brand of choice).
This solid grey will peak through the transparent areas of the marbles and clear glass jar.
Step 4: Once the grey acrylic is dry, I drew out my composition on the wood panel, before adding any oil paint. For this drawing I used a graphite drawing pencil. Drawing out the image before adding oil paint takes a lot of the guess work out of the painting process, and helps to keep the realistic effect as accurate as possible.
Step 5: Once the drawing is finished, I start to oil paint in a puzzle-piece fashion, completing an entire area before I move to the next one. I like to start at the top of my painting, and work my way down. By doing this, I can add more paint, without accidentally smearing parts of the painting that are still wet. Oil paint can take several days to dry. The thicker the layering of paint, the longer it can take to dry. Some of Vincent Van Gogh’s paintings were so thickly painted, that even after well over a hundred years, some of the oils he used are still not entirely dry!
Because oil paints have an extended dry time, it allows me to mix and manipulate colors within the painting. That being said, you may find yourself returning to certain areas of the painting, and using the dry painted areas to your advantage.
I like to use Gamblin and Winstor & Newton oil paints.
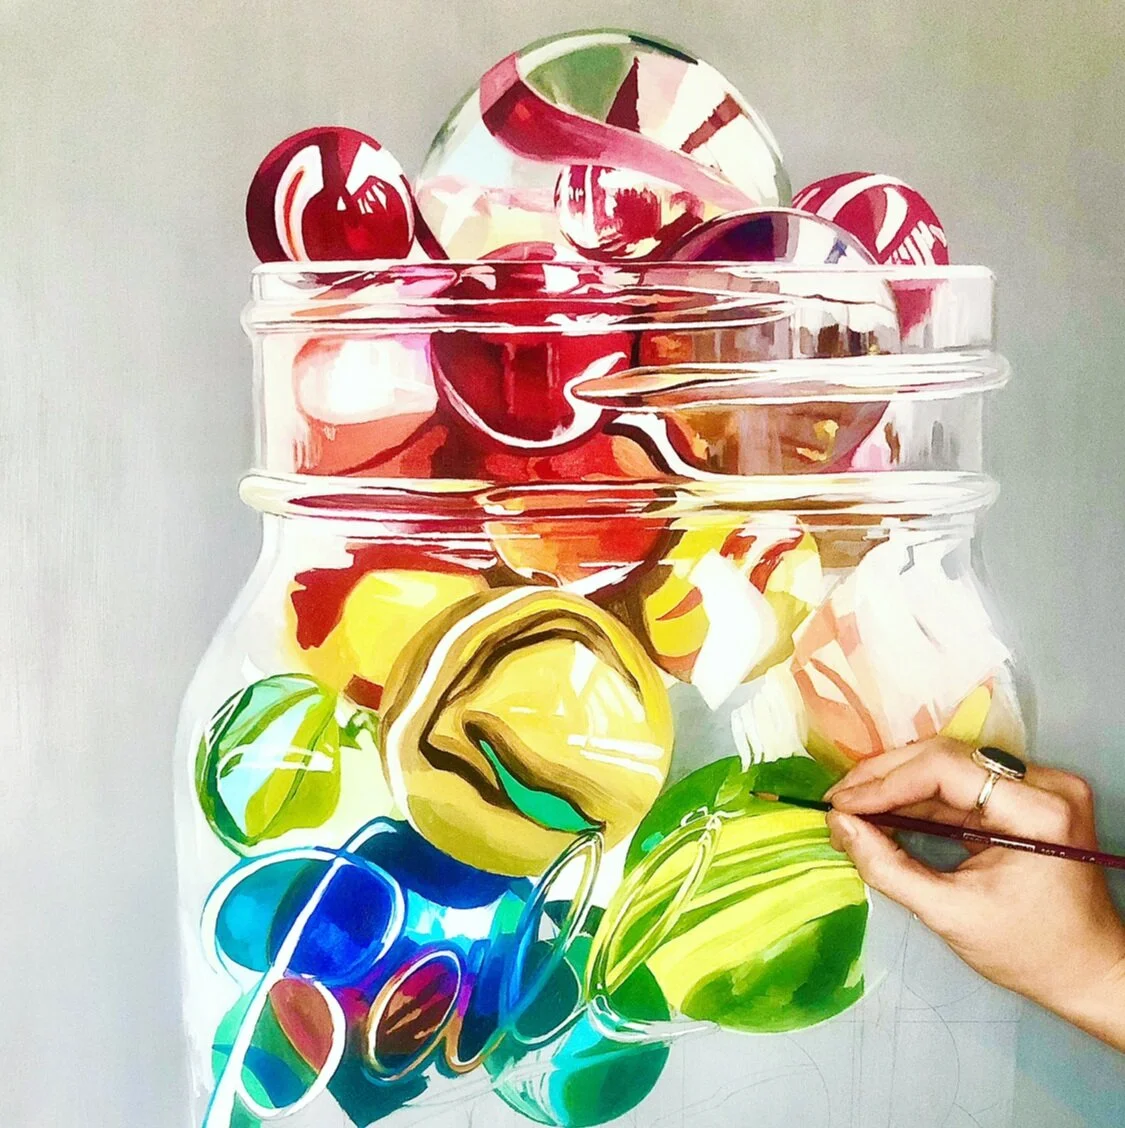
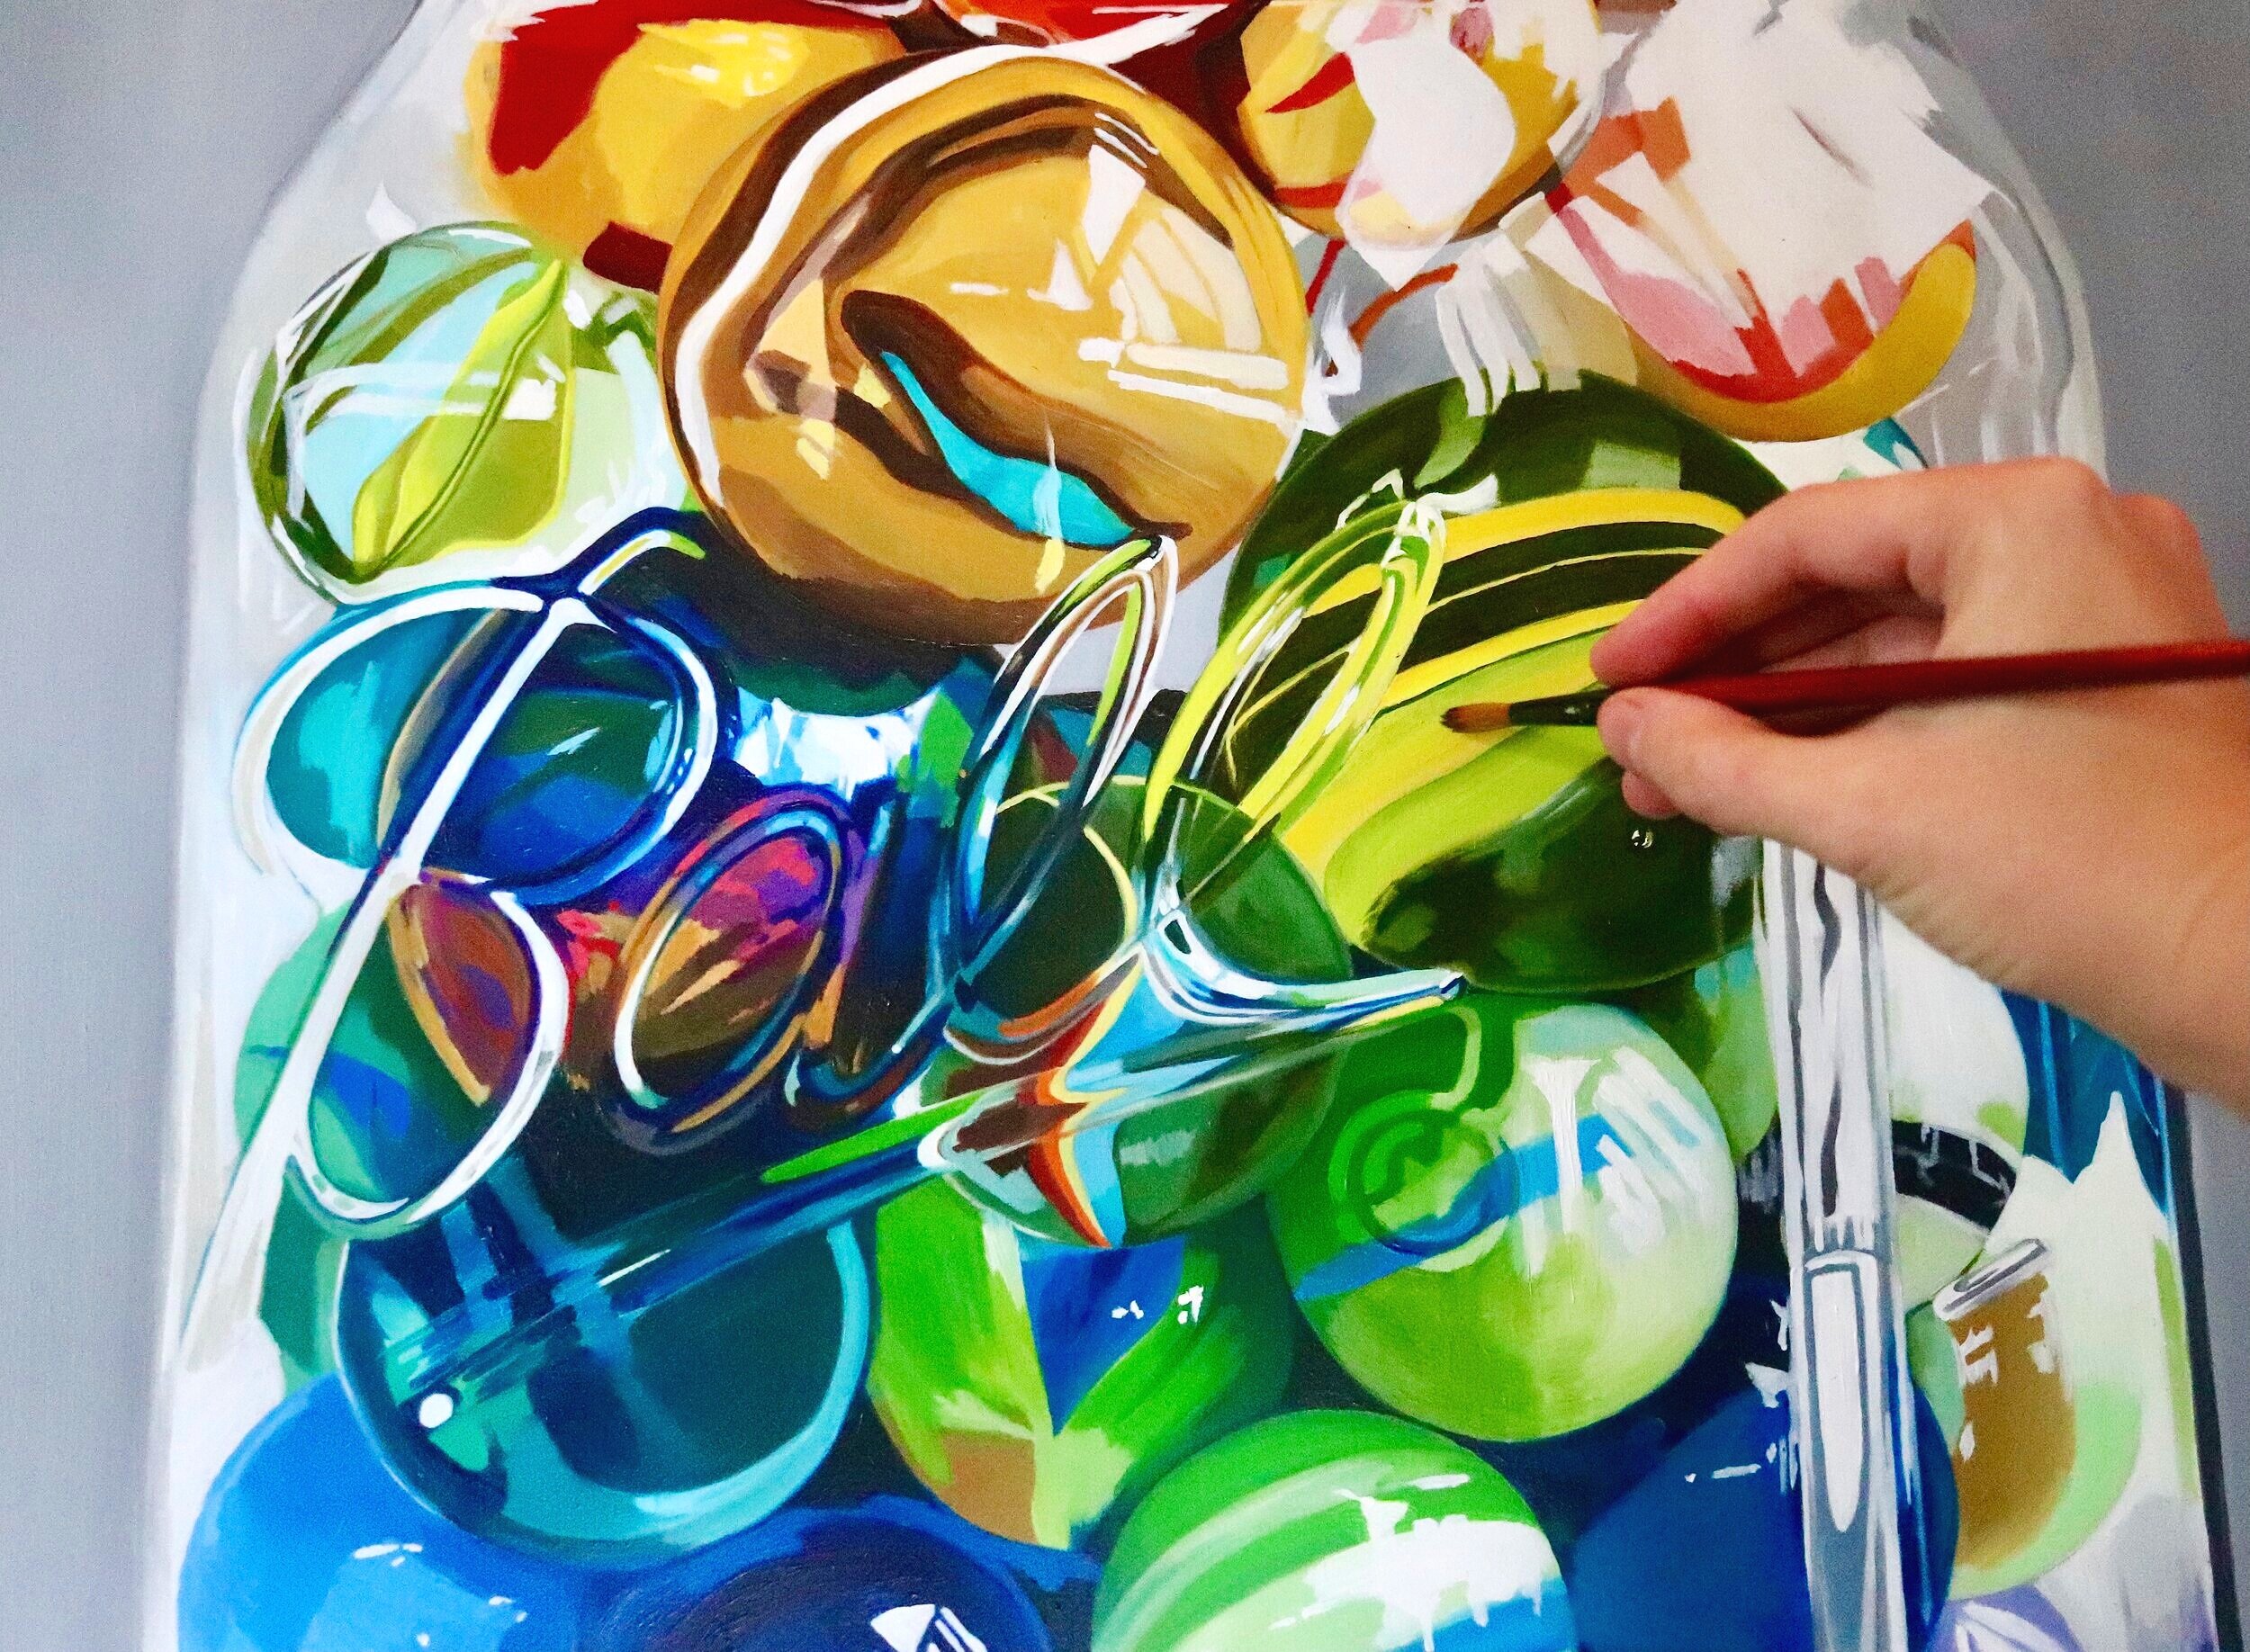
Step 6: I’m continuing to paint across the wood panel, one section at a time. Returning to touch up certain areas that need tweaking. I often use a tool to hover over the artwork without touching the wet painted areas. A Wood Mahl Stick is an excellent tool artists can use as a hand rest in more complicated areas that a steady hand is necessary.
Step 7: I am now a little more than three-quarters of the way finished. Each marble has taken about a day to paint. I layer a lot, so each marble has around 5 to 10 layers of oil paint to intensify the colors. I worked with a lot complementary colors in this painting, and it was important to balance the cools and warms. Combining complimentary colors can also help create more interesting neutral grays within a painting. The hardest part about this painting was making sure all of the reflections on the glass surfaces lined up, so that the composition makes sense.
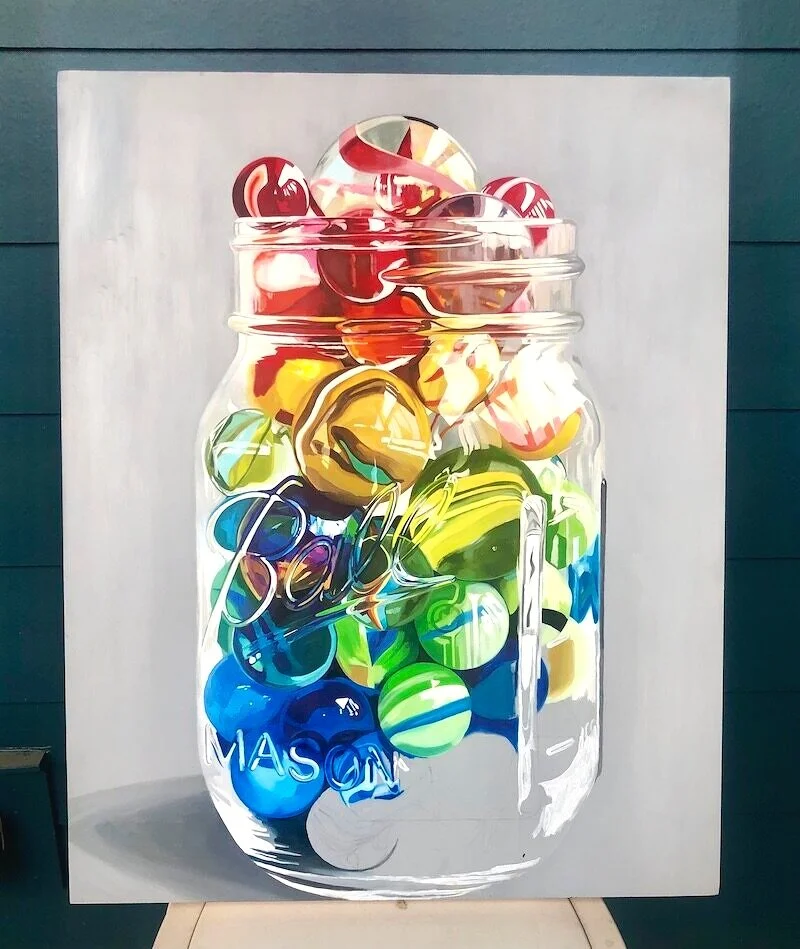
Step 8: Once all the oil paint is completely dry, I paint the entire surface with a clear coat of satin varnish. I use Gamblin Satin Varnish because it gives my artworks a unified and protective satin surface, while saturating the colors in my painting.
Finished painting: The composition highlights how beautiful these everyday objects really are. I love getting lost in all the colors and shapes when working on my oil paintings. I’m excited to continue to challenge myself by painting complex subjects, using basic oil painting principles and techniques.
