Marbled Paper Art Lesson

Feel like trying your hand at Suminagashi?
Suminagashi – which translates to “floating ink” is the ancient art of Japanese marbling. This process uses plain paper, water, and ink to transform the paper into something vibrant and colorful. What I love about this activity is each one is completely unique, like a fingerprint. Suminagashi is actually the oldest form of marbling. It originated in Japan as early as the 12th century.
Give it a swirl! (pun intended.) Read below, for directions on how to get started!

Supplies:
Blender (I use a thrifted one. You won't want to use a personal one after making slimy seaweed smoothies for this project.)
Carrageenan (That a powdered seaweed! This thickens the water so that the paint will sit on top. This can be ordered online.)
Tray (big enough to fit the entire size of your paper)
Watered-Down Acrylic Paint, liquid watercolors, or Jacquard Inks
Droppers
Stylus/ Design tools: A Hair Pick or a homemade version (I crafted mine out of toothpicks and foam core. Also- try using the pointy ends of paint brushes to create your marbled designs.)
Paper. Just about any type of paper can be used with varying results. A heavier weighted paper like watercolor paper or Cardstock work well. Also, an extra absorbent paper like rice paper is an excellent choice for capturing those EXTRA vibrant colors.
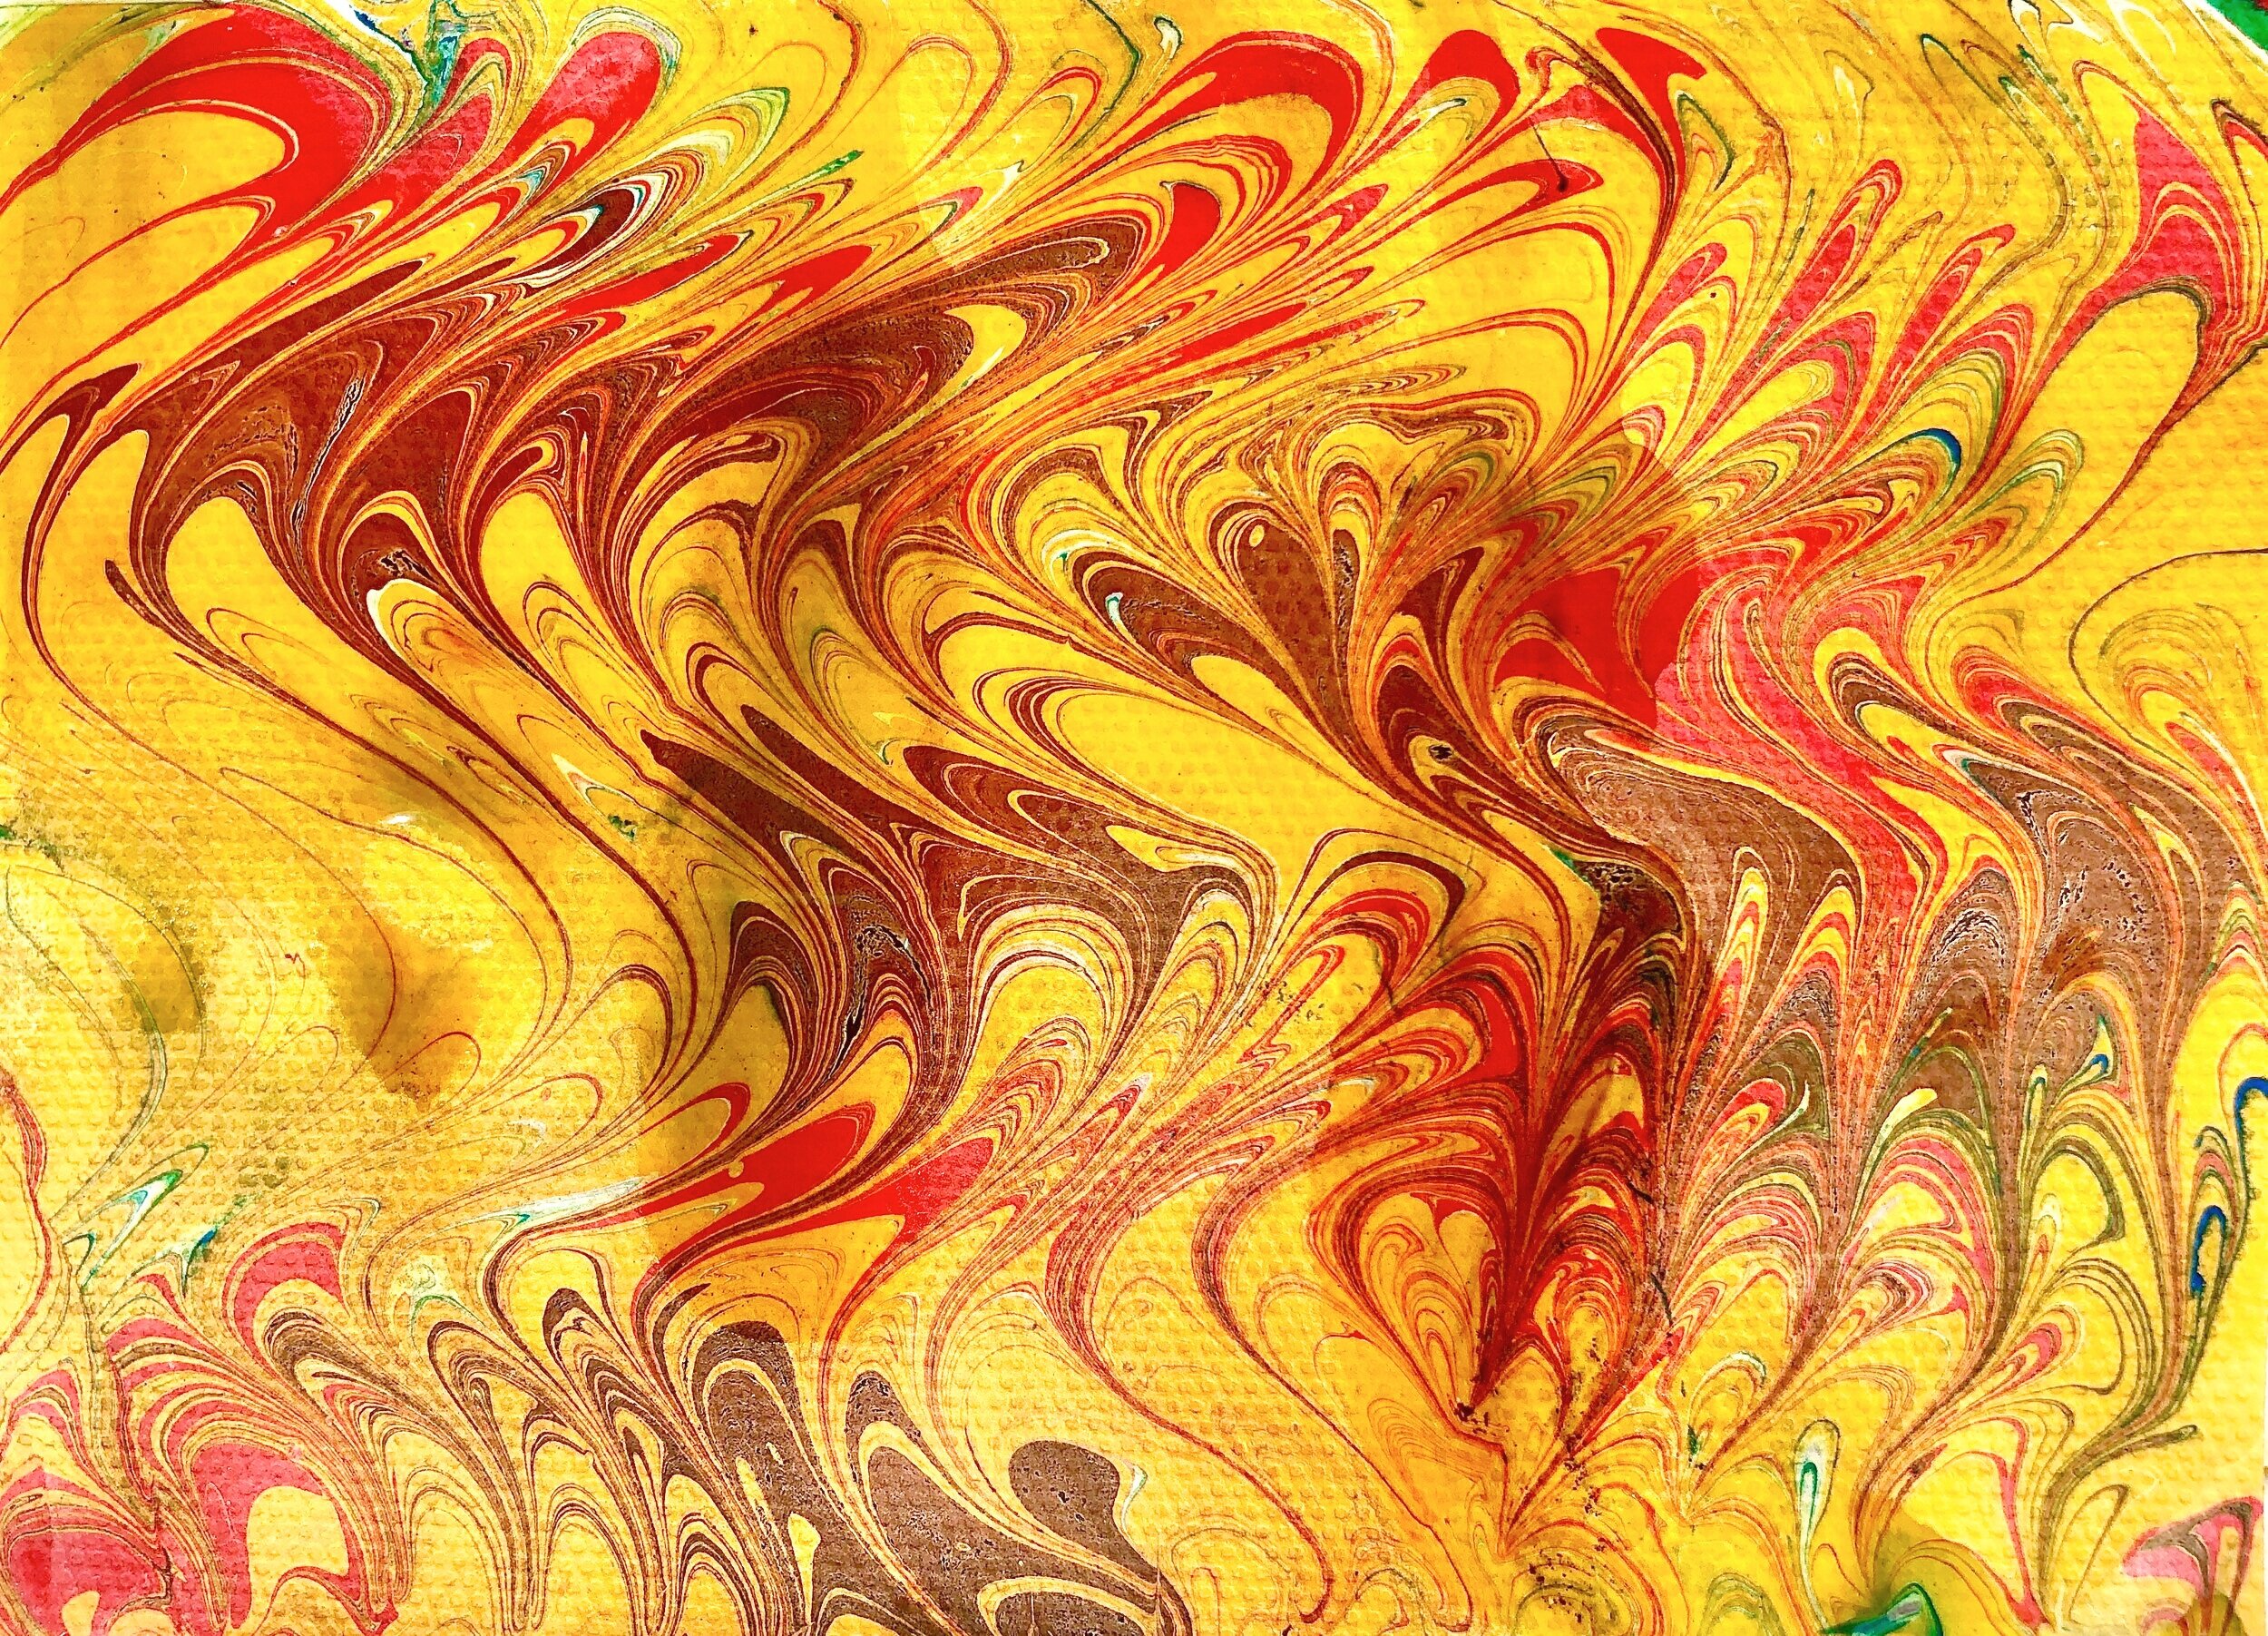
A yellowy marbled paper made using a homemade hair pick, crafted from foam core and toothpicks.
Prep:
This process definitely deserves a little bit of planning. You are going to need to prep your water solution by blending water with the carrageenan solution. Do yourself a favor and follow the directions on the package. You’ll be blending up to one gallon of water per two tablespoons of carrageen in (warm) water. What the carrageenan does is thicken the water so that it can hold up the paint. It going to make the water thicker and sort of gooey (snot-like). Kiddos love this slimy process! Pour the liquid into your tray, and let it sit overnight.
*Note- If you are using watered down acrylic paints, we want the paint to float on the surface of the water. For this, the paint needs to be pretty watery and light. I mixed paint and water in cups and squirted it into the water to test their “floatiness.” If it sank, I added a little more water to my paints.

I used the pointy back side of a paint brush as a stylus for the above design.
Create:
Add color to your tray. I used droppers. You can do this a variety of ways, droppers have worked the best for me. Younger artists may need a practice lesson on gently squeezing their “invisible droppers” in the air, before they are ready to carefully squeeze a real dropper full of paint.
Use a stylus of your choosing to create marbled designs in the floating ink. Have fun! This part is the freaking coolest!
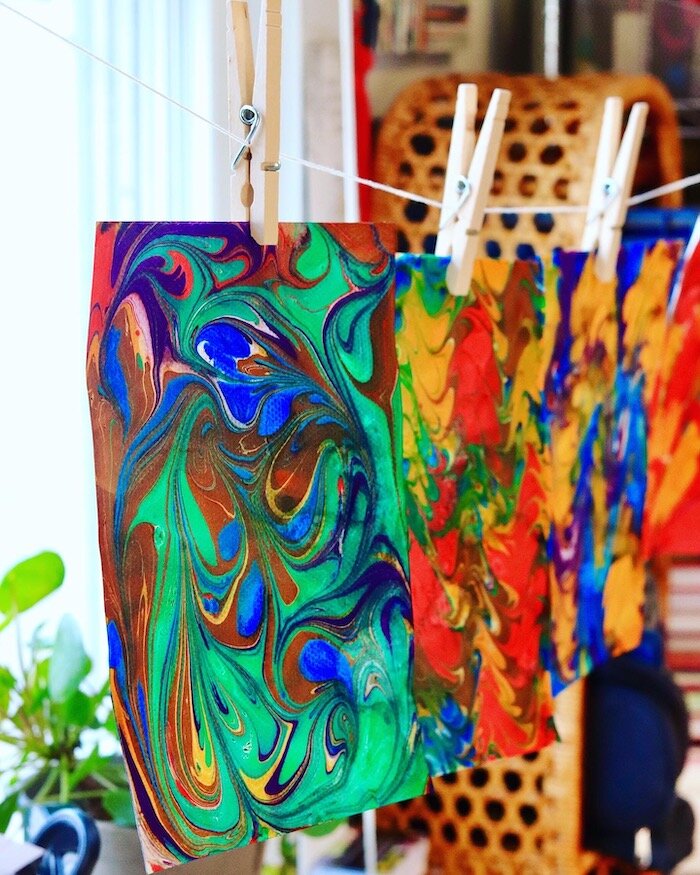
Now, we want to capture, our floating paint onto a piece of paper. Slowly, place a piece of paper onto the surface of your marbling tray, pressing evenly, to ensure the entire surface of the paper touches the painted design. The marbled paint design should print vibrantly onto your piece of paper! Amazing!
Place wet marbled paper on a flat surface to dry.
So, what did you learn during your attempt at the Japanese art form of Suminagashi?
What did you find successful?
Did you have any epic failed attempts?
Practicing something new means there can be plenty of flops here and there. Remember, that means we are LEARNIN’!
Until next time, your marbling thoughts would be appreciated!