How to Draw The Mona Lisa
Who was the Mysterious Mona Lisa?
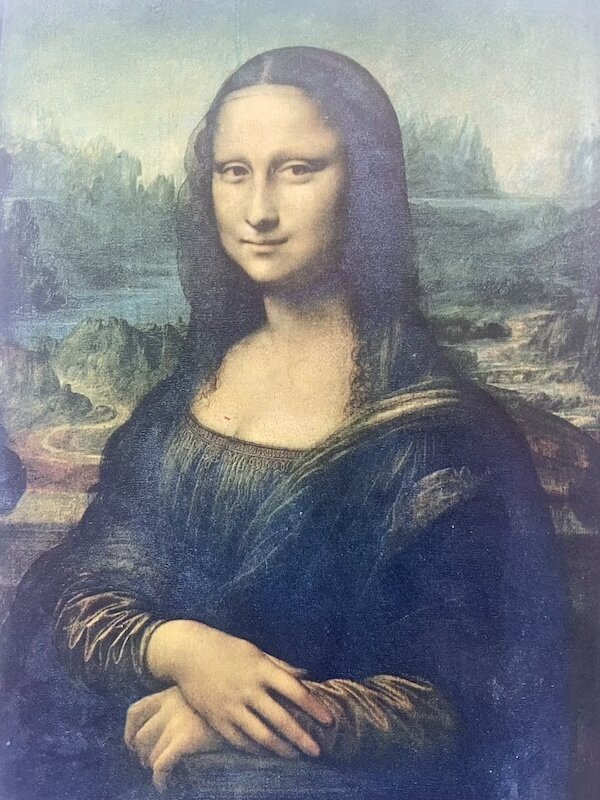
First, let’s talk a little bit about Leonardo da Vinci. The man died over 500 years ago, but his work still commands the world’s attention. The Mona Lisa is perhaps the most widely recognized and enigmatic painting in the world. She continues to be the subject of ongoing speculation, especially, her smile.
There are various theories about who the real Mona Lisa was, but the one most widely accepted is that she was Lisa Gherardini, also known as La Gioconda, or wife of Francesco del Giocondo, a cloth merchant from Florence. Gioconda translates from Italian to mean “joyful,” but despite bearing this name, many believe the Mona Lisa’s mesmerizing smile also carries sadness. There is some scientific and historical evidence supporting the theory that Mona Lisa and her husband lost a baby. Sometime later, her husband commissioned this painting from da Vinci to celebrate the birth of another baby. Mona Lisa sat for Leonardo to paint her, but she wouldn’t smile during the sitting. At least not a full smile. As the story goes, da Vinci wanted her to smile wider, but she refused. She did not want the joy she felt for her new baby to erase the pain she felt from losing one.
A fascinating passage from Glennon Doyle’s bestselling book, Untamed, focuses on this renowned face. Doyle recounted:
“There in her half smile is her half joy. Or maybe it’s her full joy and her full grief all at the same time. She has the look of a woman who has just realized a dream but still carries the lost dream inside her. She wanted her whole life to be present in her face. She wanted everyone to remember, so she wouldn’t pretend.”
Doyle further commented:
“Now I understand what the fuss is all about. Mona Lisa is the patron saint of honest, resolute, full human women—women who feel and who know. She is saying for us: Don’t tell me to smile. I will not be pleasant. Even trapped here, inside two dimensions, you will see the truth. You will see my life’s brutal and beautiful right here on my face. The world will not be able to stop staring.”
The Italian Renaissance will always be known for bringing dramatic truth to life. Renaissance means “rebirth,” and it defines the period of cultural revival after the Dark Ages, when a devastating global epidemic of bubonic plague struck Europe and Asia in the mid-1300s. After the fact, the Italian Renaissance focused more on realism and humanity. In this portrait, da Vinci skillfully captures the bittersweet honesty of a woman following a literal rebirth. I believe this to be no small coincidence.

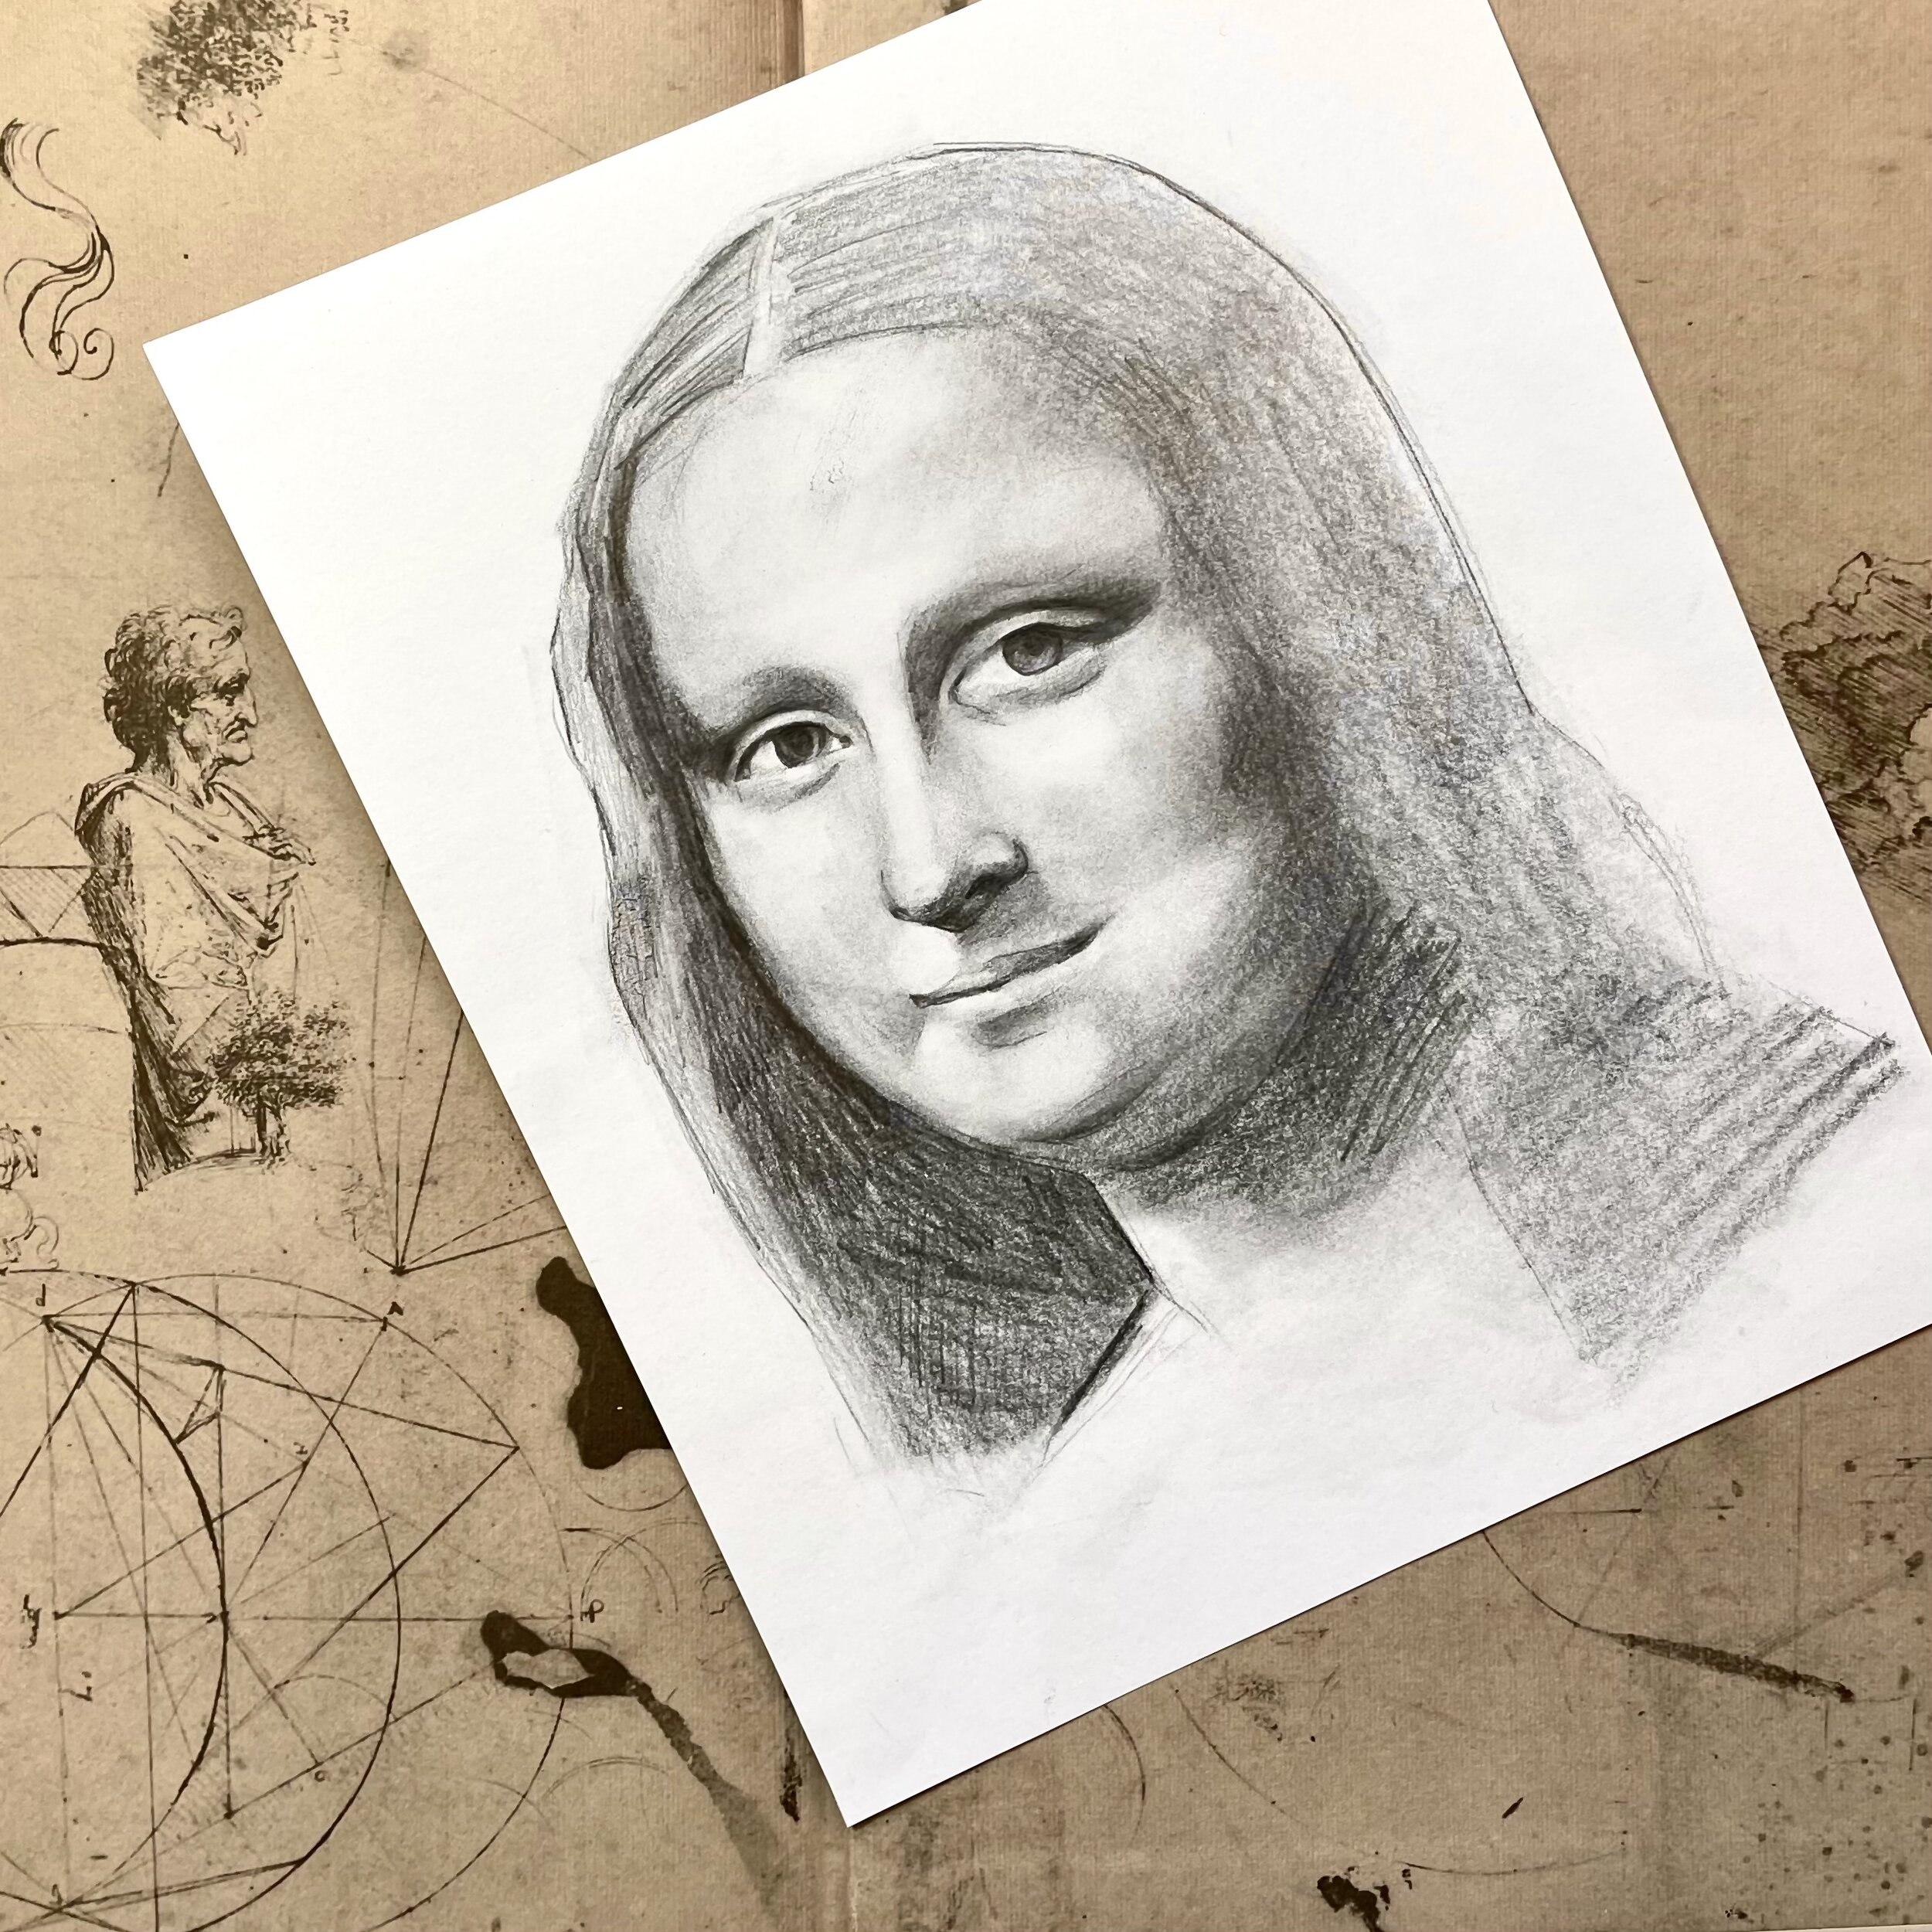
How to Draw The Mona Lisa in Pencil
Step 1
Select your Mona Lisa reference photo. Using a reference photo is an excellent tool for drawing more realistically. This can take a lot of time, but the outcome will be worth it! Feeling inspired is important! The more inspired you’re feeling, the more excited you will be to put in that time and practice to get it just right. Choose a photo that inspires you. It doesn’t have to be The Mona Lisa, it could be anything you want it to be, and you can still use these helpful steps for drawing in pencil.
Select the “black and white” setting of your photo reference. This helps clarify the image’s edges. When drawing only in graphite, you are really only capturing the “value” of the reference photo. Value is the range from the darkest darks to the lightest lights; or shadows to highlights. The value of a subject can be more clearly understood when the color is removed from the photo.

Step 2
Gather your supplies.
· Drawing paper (80lb or heavier)
· Graphite pencils ranging from 2H to 8B
· A variety of different sized erasers.
A pack of drawing pencils typically has a range from 2H to 8B. 2H being the hardest, creating a lighter line quality. 8B being the softest. 8B easily makes very dark bold lines, great for shading those very dark areas.
Step 3
Start by lightly sketching the proportions and creating a very light outline of the reference image. This can be a very rough sketch at first. Draw it light, until you’ve got it right!
I always start with my harder pencils first, softly building up those lines and shapes, until I become more confident about my drawing. I typically start with an H pencil, and then work my way to using a 2B. Choose what you’re comfortable with! This is just how I do it.
I recommend building up those darker parts of your drawing slowly, using the softer tipped pencils for only the darkest areas of the photo. Always save the darkest parts for last. Once something is really dark, sometimes, you can’t erase mistakes. Remember, draw it light, until you’ve got it right!
Step 4
Play around with your blending tools! I have some actual legit blending tools from an art supply store. They are relatively inexpensive. Here’s an example of the ones I use.
Other items that can be used for blending tools include: a tissue, a cotton q-tip, a small cloth. Never use your fingers to blend! The skin on our fingers has an oil that can damage the paper, causing it to no longer blend, or sometimes even erase. Never lean directly on your artwork. Use a piece of paper to separate your leaning hand and the artwork you’re working on. A professional mahl stick also works to lean over artworks without touching them.
You may find that lighter areas of a drawing can be added simply by using a blending tool, with a little bit of graphite on it. You can pick up some graphite on your blending tool by blending in darker areas.
Step 5
Once you’re feeling confident with your drawing as a whole. It’s time to add your darkest darks. These are the shadows of your drawing.
Try a 4B, 6B, or even 8B for these areas. Blend with blending tools until you’re feeling happy with it.
Step 6
The last step is to lift your highlights with an eraser. This is when the magic happens! After adding shadows and highlights, your drawing will start to convey dimension and volume. This is a trick artists use to make flat images look like they have form!
There are all types and sizes of erasers. I recommend having a kneaded eraser on hand for more realistic drawing techniques. Kneaded erasers are not only satisfying to play around with, but they are special, because they can be manipulated into different shapes, like a small piece of clay. This helps to erase even those teeny tiny areas. I also like to have a wide eraser on hand for larger areas.
The highlights are the lighter parts of your drawing where light is reflecting; the Mona Lisa’s cheekbones, the bridge of her nose, the whites of her eyes.
Resources:
Best Selling Book Untamed by Glennon Doyle
The Secret Behind Mona Lisa's Smile https://www.joeymillermsw.com/post/the-secret-behind-mona-lisa-s-smile#viewer-cptk6